Why film scanning still matters
I enjoy taking photos on film cameras and also have quite a lot of negatives that I shot in the years before digital cameras came along. I had around 50 rolls of film filed away that I wanted to get onto the computer to share them with friends and family so I spent some time working out the best film scanning method and hopefully can share some useful insights with you.
Once you have your developed negatives the next critical step is inverting them so you can view them with the correct colours. While this used to be done by making prints in the darkroom the easier method now is to make a digital copy of the negative and edit so it looks as you want. As you will see below, taking photos on film is one thing but getting them on to your computer is quite another, especially with colour negatives!
Film photography is currently growing and so more and more people will be thinking about how to get the best results onto their computer. If you take the easy route of getting them scanned at a lab this can prove to be pretty expensive. Film itself is more expensive than it used to be, and if you want high quality scans from a lab it can add a significant extra cost on top.
Just as an example, a 36 exposure roll of Kodak Gold currently costs about £12 ($16 US) in the UK, you then need to add an additional £25 on top for development and high quality scans, meaning you are at just over £1 per shot! If you can scan the negatives yourself and just pay for £7 for development then the overall cost is reduced from £37 to £19, or £0.53 per shot, and all it takes is some effort to do your own scanning.
Apart from the reduced cost there are other benefits to scanning at home. When you get your negatives scanned by a lab you have no control over the final result, it depends on the person operating the scanner. They may be an expert, or you might get back results like the ones I’ll show in my Review of Harman Lab.
If you are like me and have plenty of old negatives sitting around then of course you could also ship them off to a lab or specialist and get them scanned, but from what I can find online this can cost more than £0.50 per image, so at least £18 for one roll of 36 exposures. You can see how this would quickly add up, and why home scanning can also make sense here.
My scanning setup
In this article I will compare the process and results for 4 different ways of scanning negatives:
- Epson V500 flatbed scanner – A consumer flatbed scanner
- Minolta DiMAGE Scan Elite II – A dedicated negative scanner
- Camera Scanning with a Fujifilm X-T3 APSC camera
- Camera Scanning with a Canon 5D MkIII full frame camera
- Lab Scans
I think these options cover the majority of the ways you can scan a negative, ignoring the cheap and low quality “scanners” available on places like eBay or Amazon.
As you will see later on there is no perfect way to scan negatives. In this article I will show the benefits and problems for each method so you can decide what is best for how you want to use your images.
The flatbed scanner

The Epson V500 was released some time around 2010 but still works on Windows 10 and 11 (and kind of works on Mac). The scanner claims to support up to 6400 dpi (dots per inch) resolution which would give a huge 54 megapixel image, but as you will see later this is just not realistic. A more realistic result is 3200 dpi or less, giving an image up to a maximum of 13 megapixels.
These types of scanners are cluttering up peoples homes and so it is not unusual to see them on eBay or Facebook marketplace for very little money, or if you are lucky like me you might even find one being given away for free!
One major problem for flatbed scanners is that they have a fixed focus lens, meaning that they can’t adjust to get the perfect focus on your negatives. This means that you may have to play around to find where you get the sharpest scans. I tried putting film in the supplied holder, and also laying film directly on the glass which did give me slightly sharper scans.
The big advantages for this type of scanner are that you can scan up to 2 strips of 6 frames at a time, and it also provides automatic removal of dust and scratches from your images. It is almost impossible to keep negatives completely free of dust, so if you don’t want to spend hours editing out dust and hairs then look for a scanner with hardware dust and scratch removal. For Epson scanners this is called Digital ICE while Canon scanners have the equivalent FARE technology. Just bear in mind that digital ICE doesn’t work for black and white negatives, so be sure to get them as clean as you can before scanning!
A flatbed scanner can scan colour negatives, black and white negatives, or slides (positives). When you scan negatives it does a reasonable job of converting into a positive image, so you might only need to make minor tweaks before they are ready to go.
After testing all the different scanning resolution settings I have settled on 3200 dpi as higher resolutions only gave closer up views of the blur rather than more details. I will write a separate article showing the comparison of the different resolutions and the differences you see depending on the film placement.
The dedicated film scanner
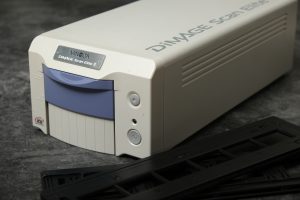
My Minolta DiMAGE Scan Elite II was released in the early 2000’s when film was already being replaced by digital cameras. The drivers from Minolta don’t work in newer versions of Windows or MacOS, but luckily the team at Vuescan figured out how to keep this scanner working.
This scanner produces scans at up to 2300 dpi giving a 7 megapixel image, but as it has autofocus the scans are very sharp even if the resolution is a little low by today’s standards. The scanner also has built in digital ICE to remove dust from the scans, so it provides nice sharp and dust free images. In terms of speed it is the slowest of all the methods compared here with 1 frame taking several minutes, but you can load a strip of 6 negatives and leave it to run while you do something else.
There are newer dedicated film scanners on the market with higher resolutions, but many of them seem to be lower quality or have less features than the ones that were available in the heyday of film. Many are missing features like Digital ICE, or don’t have any motor drive so you need to move the film manually for each frame. That being said they do have one major advantage, and that is their age! I have used my Minolta scanner to scan more than 1000 frames, but while preparing to scan some samples for this article the power supply died, taking the scanner with it. This highlights the risk with buying older electronics. My scanner was relatively cheap second hand, but you can easily spend more than £1000 on an old high quality scanner such as a Nikon, but you definitely take a risk as you never know how long it will keep working!
As with the flatbed scanner a dedicated scanner can scan colour negatives, black and white negatives, and slides. The Minolta software does a good job of converting negatives, so the images are basically ready to use.
Camera scanning
Many people shooting film will also own a DSLR or mirrorless camera that could be used to scan film. It may sound like you are defeating the purpose of shooting film if you scan with a digital camera, but remember that a scanner is also basically a digital camera. Regardless of the method you use to scan film it will retain some of its characteristics such how it responds to the highlights and shadows in the scene. The way you use a camera to scan film basically removes any interpretation from the digital camera, allowing the film characteristics to shine through.
To get set up for camera scanning you do need some extra equipment:
- A suitable lens – You need to be able to focus on the negative and be as big as possible in the digital image. While you can try close up filters or extension tubes for this, the best results will be achieved with a 1:1 macro lens.
- A light source – To take a photo of a negative or slide you need to shine light through it towards your camera. There are many choices here ranging from placing your negatives on a light box, to film scanning adapters that cost hundreds of pounds.
- A sturdy tripod or copy stand – When copying negatives you need to carefully align the camera with the film frame, so a sturdy stand is essential to avoid distorted or blurry images.
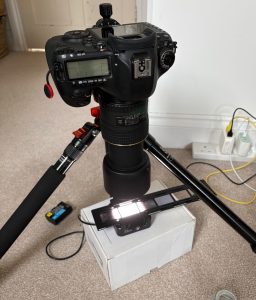
For my camera scanning setup I use a Tokina 100mm f2.8 ATX Pro macro lens which I can adapt to either my Fuji X-T3 or Canon 5D MkIII. This lens provides true 1:1 magnification, so I can fill the picture with the image of the negative.
In the image above I am using a fairly cheap JJC LED light that comes with film holders. This LED setup works OK for me and only cost around £20 but there are definitely better alternatives. The light source in my JJC unit is not the best and so might not give the best colours for colour negative film, and it is also quite time consuming the insert each strip of negatives into the holder. There are much more expensive holders available from companies like Negative Supply that help to solve these issues if you will be scanning large amounts of film or just want to simplify your life.
I got some of my best results by using a home made solution with the film holder from the JJC kit, some opal Perspex, and my flash. I’ll cover this in more detail in my camera scanning article.
Once you have a camera scanning setup adjusted just right then it is definitely the fastest way to scan negatives but it does have some significant challenges compared to the flatbed and dedicated scanners.
- Dust – There are no options for automatic dust removal when using a camera. If you are not completely free of dust then each image will need to be cleaned up in editing software like Photoshop or Affinity.
- Negative conversion – When you take a photo of a negative then of course your image will also be a negative until you convert it. As far as I know there are no cameras colour negative conversion built in, so each image will need to be converted in editing software.
- Set up time – Unless you can leave your camera scanning rig set up permanently then it takes time to get it set up and adjusted for the perfect scans.
As you will see in the examples later on this method gives the sharpest and highest resolution scans, but the colour conversion is the most difficult. There is no 100% foolproof way to convert negatives so they look just right, and if the colours are off then even the best images can look terrible. There are many different methods available to convert negatives, ranging from manual curves adjustments to paid software like Negative Lab Pro. Personally I use the conversion built in to Capture One or Darktable, these generally get me 90% of the way there so I only need to do some basic editing afterwards. Do bear in mind that black and white negatives are much easier to convert than colour negatives, so if you only shoot B&W then you don’t really need to worry too much about this part.
I won’t cover all the details of setting up the camera for scanning or converting negatives in this article, but stay tuned for this in a future article. For the example images I shot all of them in RAW to give the greatest flexibility in editing, I would not recommend shooting in JPEG for this process.
Lab scans
When I got some recent films developed I decided to get lab scans to see how the colour compared to my home scanning setup, if you have read my review of Harman Lab then you might know I was not very impressed, but they do give me a point of comparison to use here.
I went for medium quality scans from Harman Lab which were sharp enough, but the colour was pretty bad. Because they only supply jpeg images there was not much chance of fixing the colour afterwards. This highlights the main risk with lab scans; you have no control over the results. If your operator has lots of experience then you might get back perfect scans with great colours, or you might end up with scans like mine that are definitely less than perfect.
The testing
I selected some negatives and slides to scan so you can see the results when scanning in all these different ways. I only have lab scans for a colour negative film, so for B&W negatives and slides I only compare the other options, as summarised in the table below.
| Method | Colour Negative | Black and White Negative | Slide Film (Positive) |
|---|---|---|---|
| Flatbed Scanner | Y | Y | Y |
| Film Scanner | Y | Y | Y |
| Camera Scanning APSC | Y | Y | Y |
| Camera Scanning Full Frame | Y | Y | Y |
| Lab Scans | Y |
In case you are not familiar with the different types of film available, the image below shows the 3 main types. The top row are black and white negatives, the middle row are colour negatives, and the bottom row are slides or positives.
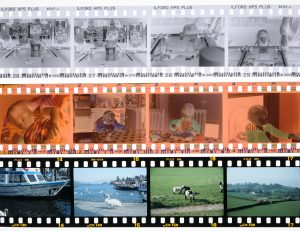
If you would like to learn more about film types then please read my Introduction to Film Photography article for more details.
The test images
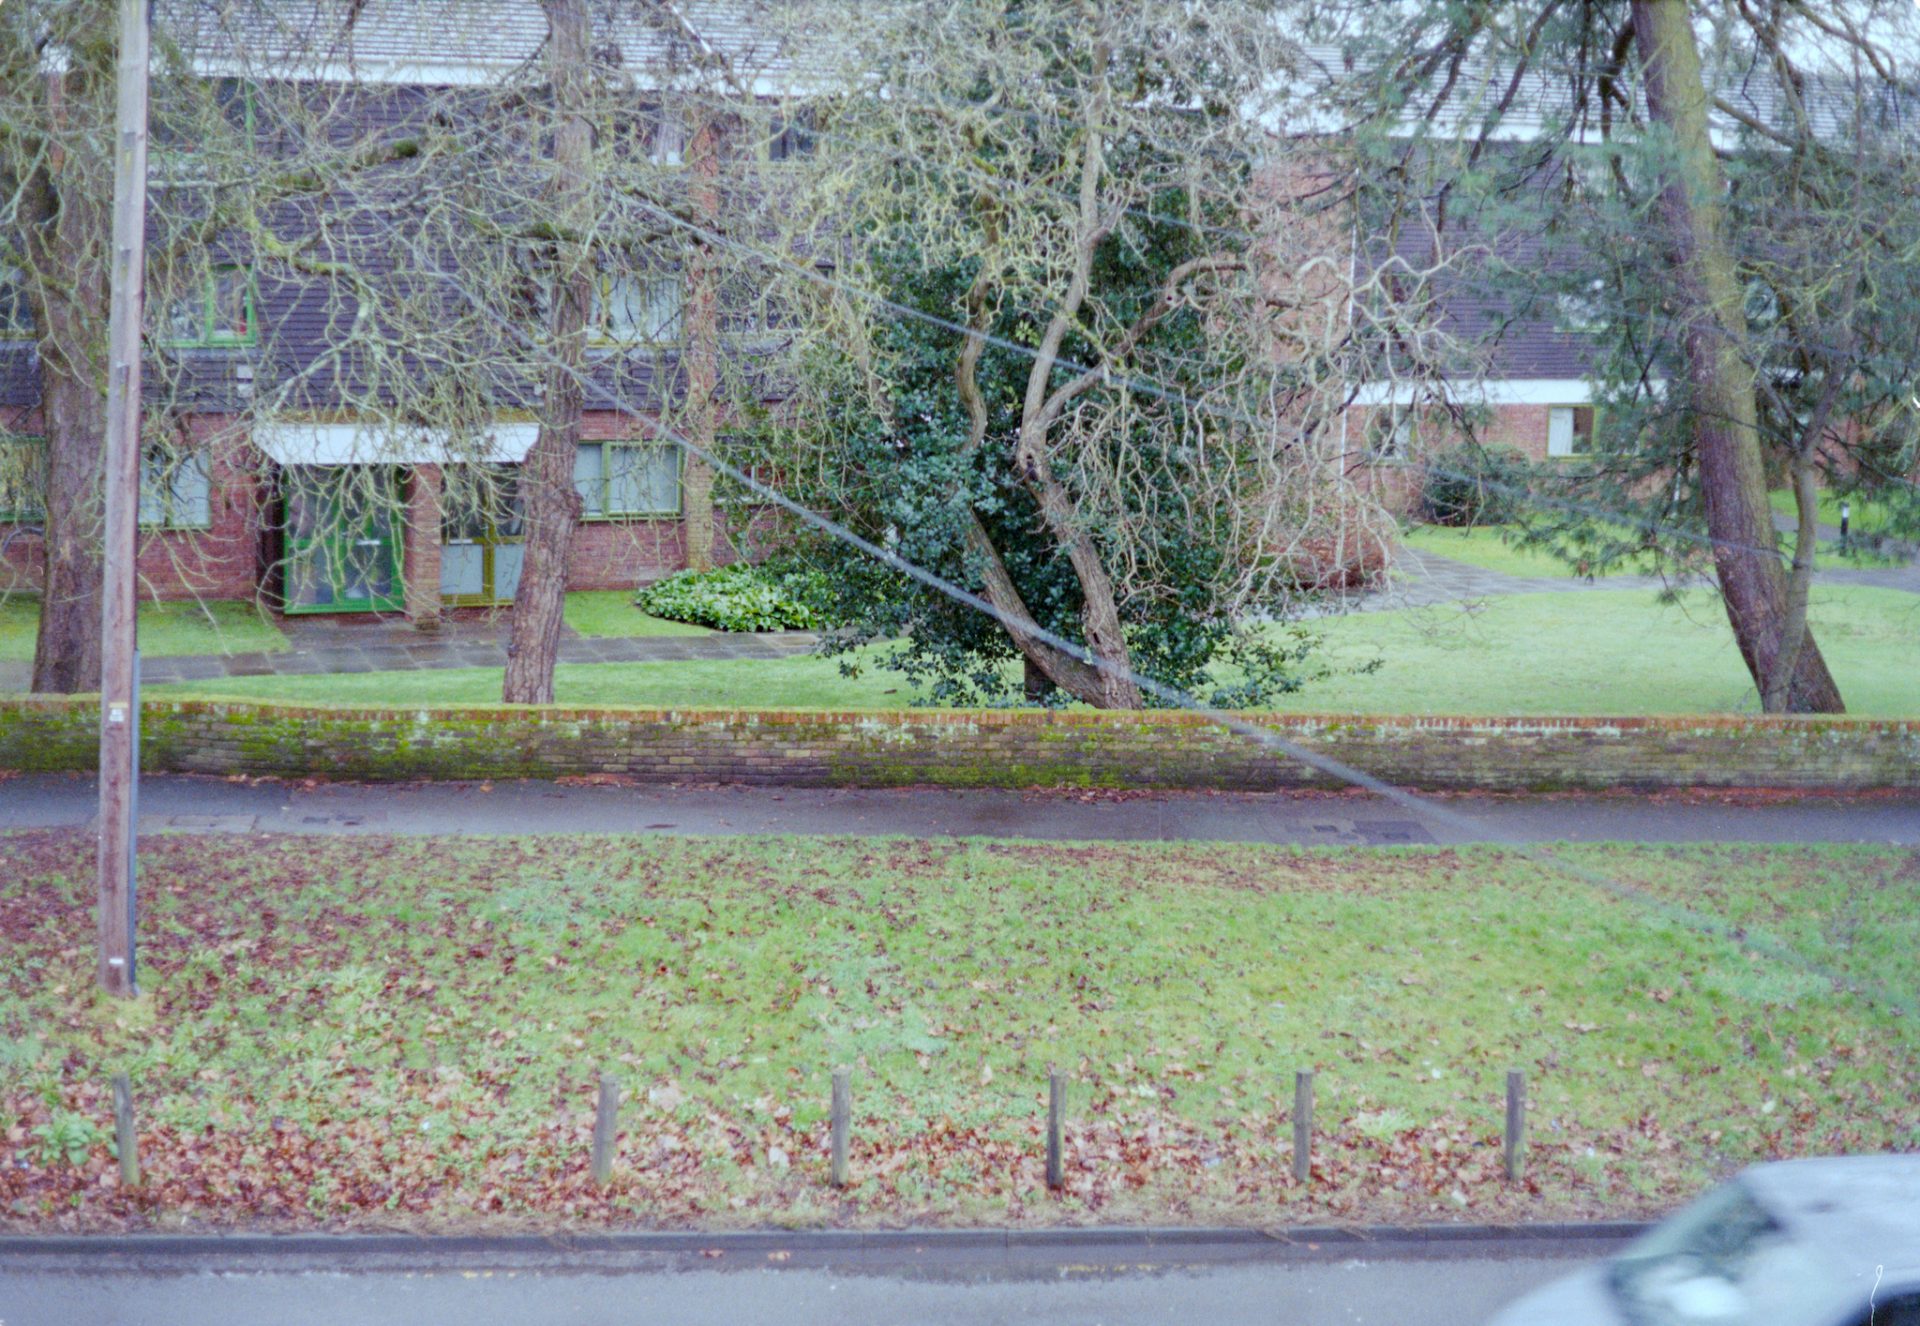
The images I have chosen for this test were selected to show the differences between the scanning methods. To help demonstrate the differences in sharpness I used images that include an area with a lot of detail such as a brick wall or some text to allow easy comparison.
Click the thumbnails below to see the uncropped images used in the tests. These are the images shot on my Fuji X-T3 and processed in Darktable:
Colour Negative Full Image
B&W Negative Full Image

Slide Full Image
Colour negatives
This has to be the hardest type of film scan. In the images shown below you can see that the colours vary a lot, and this just illustrates the point that there is no easy or fixed way to convert colour negatives.
Colour negative film captures images using multiple layers that are sensitive to different colours of light. Each brand and type of film responds a little differently, and on top of this the colours can change depending on other factors such as the temperature and chemistry used to develop the film. Colour negative film also has a base colour, typically orange or brown, which means the negative image cannot be directly converted to a positive without first cancelling out this background colour in another processing step.
When using a film scanner such as the Minolta dedicated scanner, the Epson V500, or the scanner in the lab, the conversion to a positive image will be done for you. While they are largely automated the final image still depends on the operator choosing the correct options and correcting any colour casts properly. When scanning with a camera you are responsible to process the image from a negative into a positive, where the software used and how you use it will have a big influence on the final image.
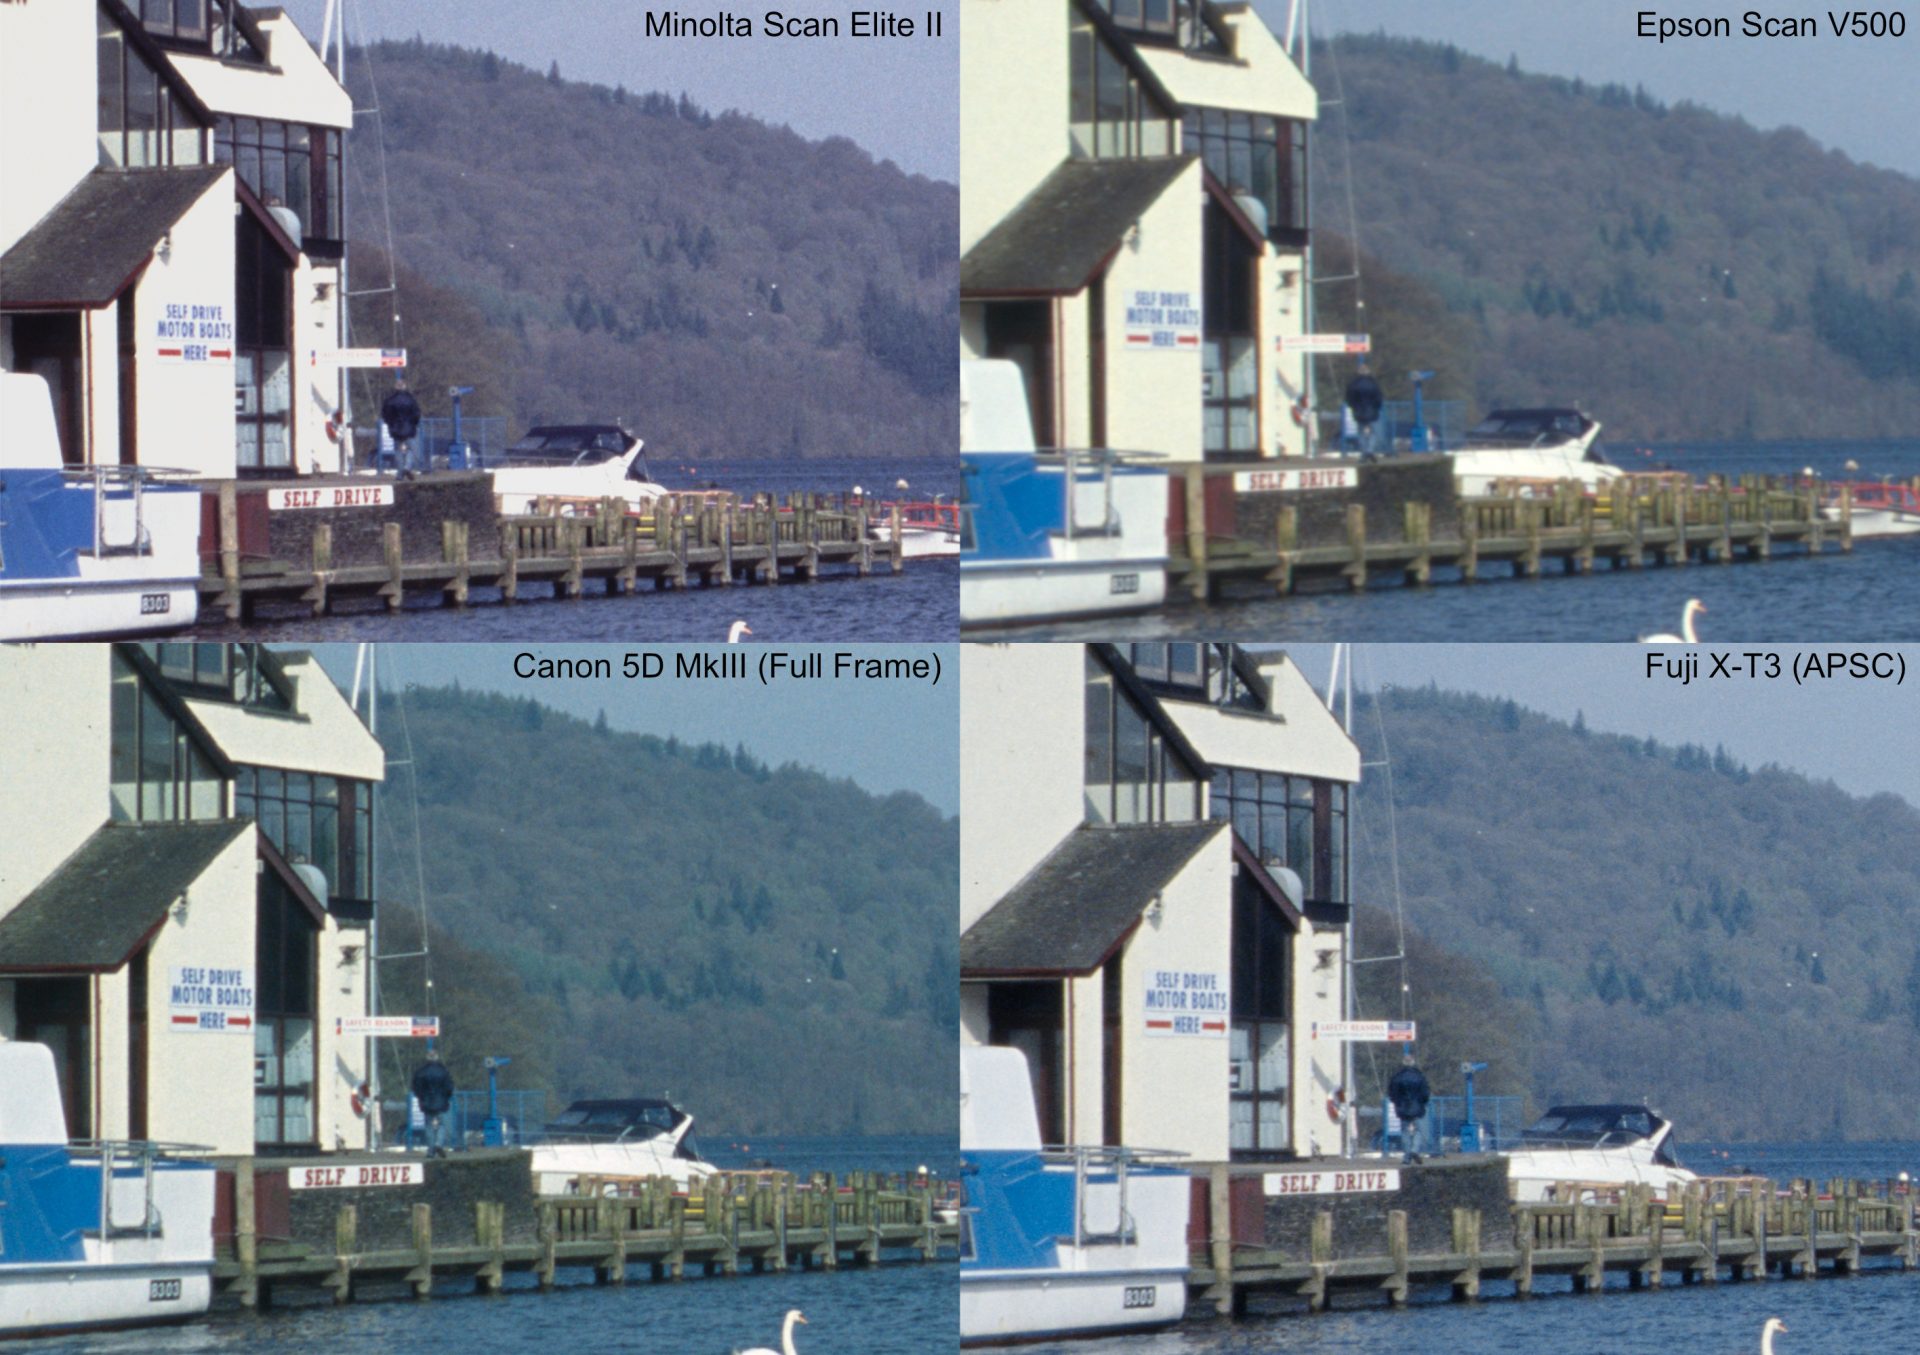
The comparison image below shows the same part of the image from each of the different scanning methods. These images have not sharpened to show how they come look straight out of the scanner.
Colour Negative Comparison
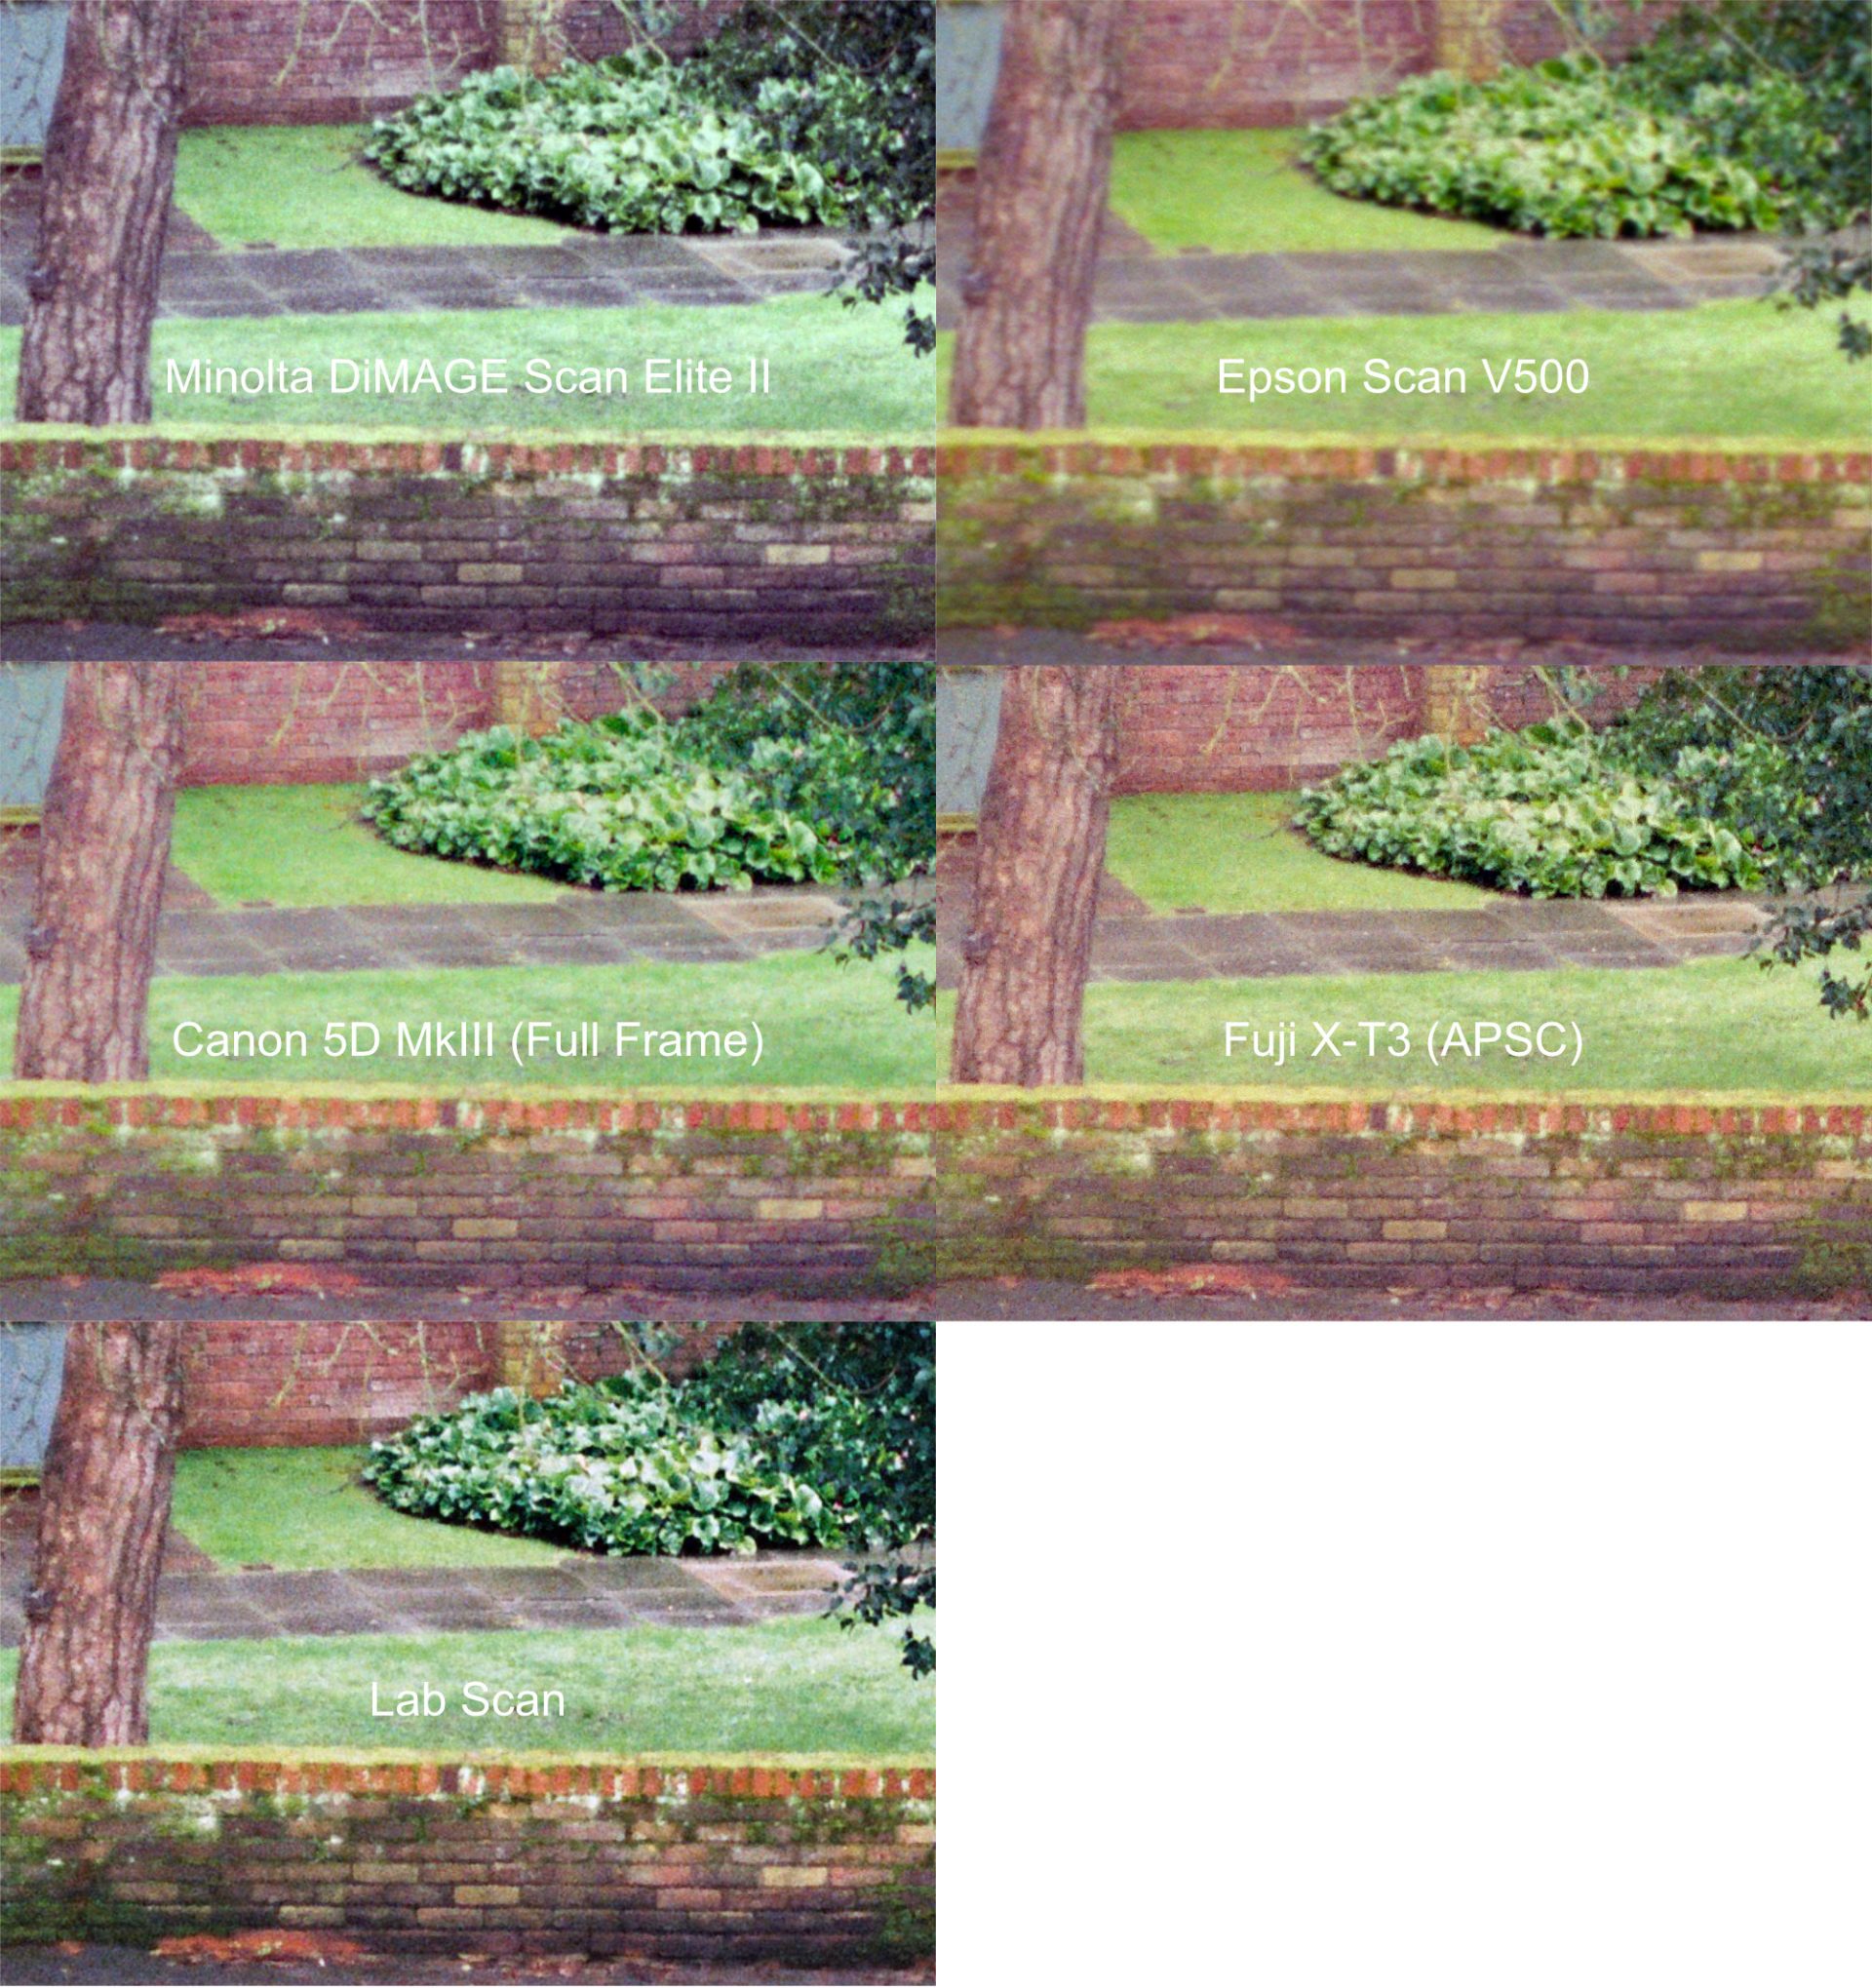
Looking closely at the brick wall and the path behind you can see the grain of the film in all except the Epson scan, so it seems that most of the scanning techniques are extracting all the detail there is from the negative. This is a 400 ISO film so it will be more grainy than a slower 100 or 200 ISO film, but it that case the difference between the Epson and the other scanners will just become more apparent. In this case any higher resolution scans will just give a clearer view of the grain rather than getting more details in the image, so overall quite a good resolution performance for everything except the Epson V500.
I have done some basic adjustments to these images to try to match the colours, but I won’t focus on that part now as my camera and flatbed scanning articles will go into that in detail. The colours straight from the Minolta dedicated film scanner, the Epson flatbed scanner, and the lab scans were reasonable, while of course from the camera they need to be inverted and adjusted in software after they are shot. Once you have understood the conversion process for camera scans then it can be quite straightforward, but I spent quite a lot of time experimenting with different methods to find a way that worked for me.
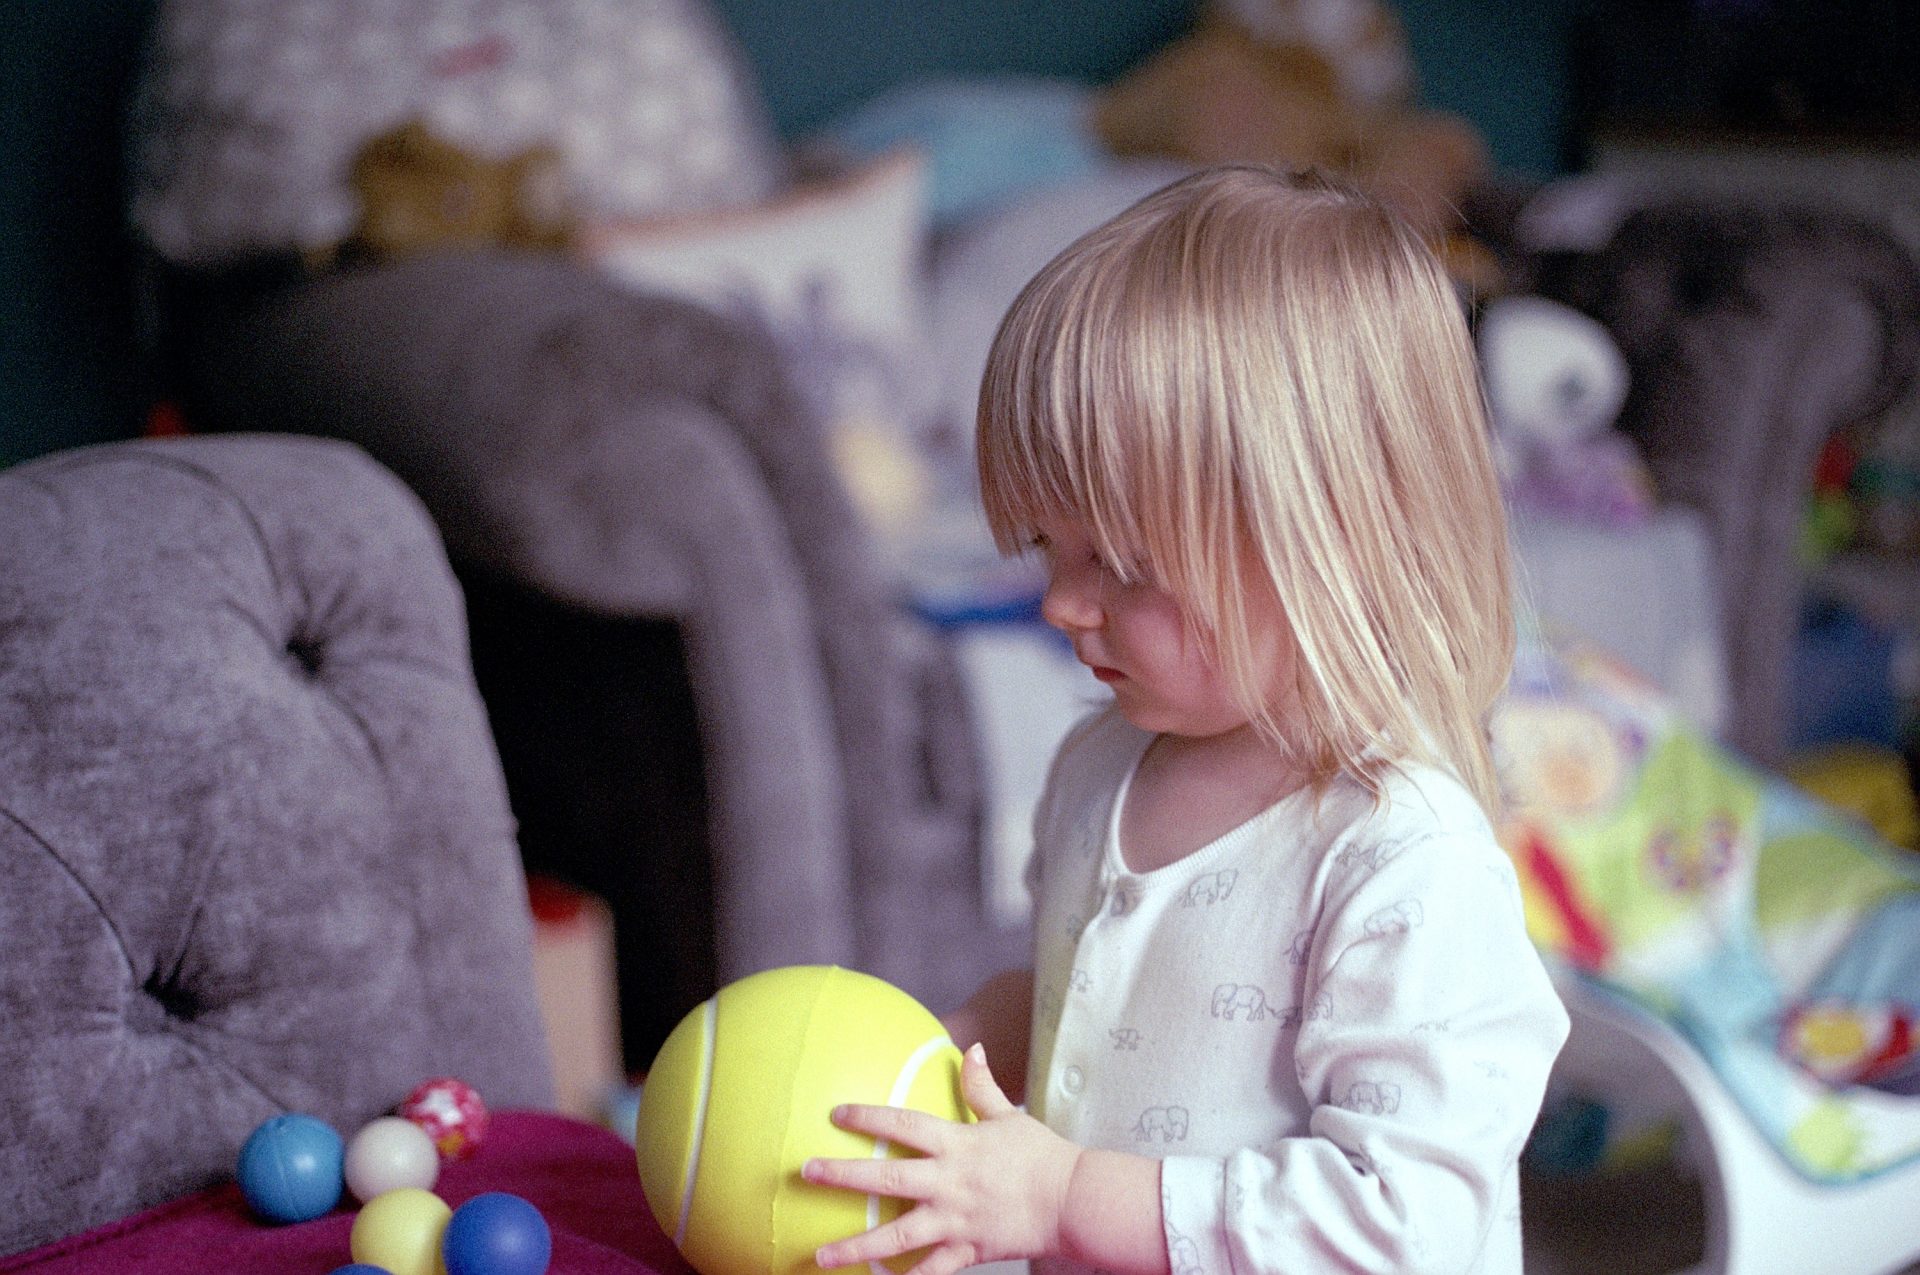
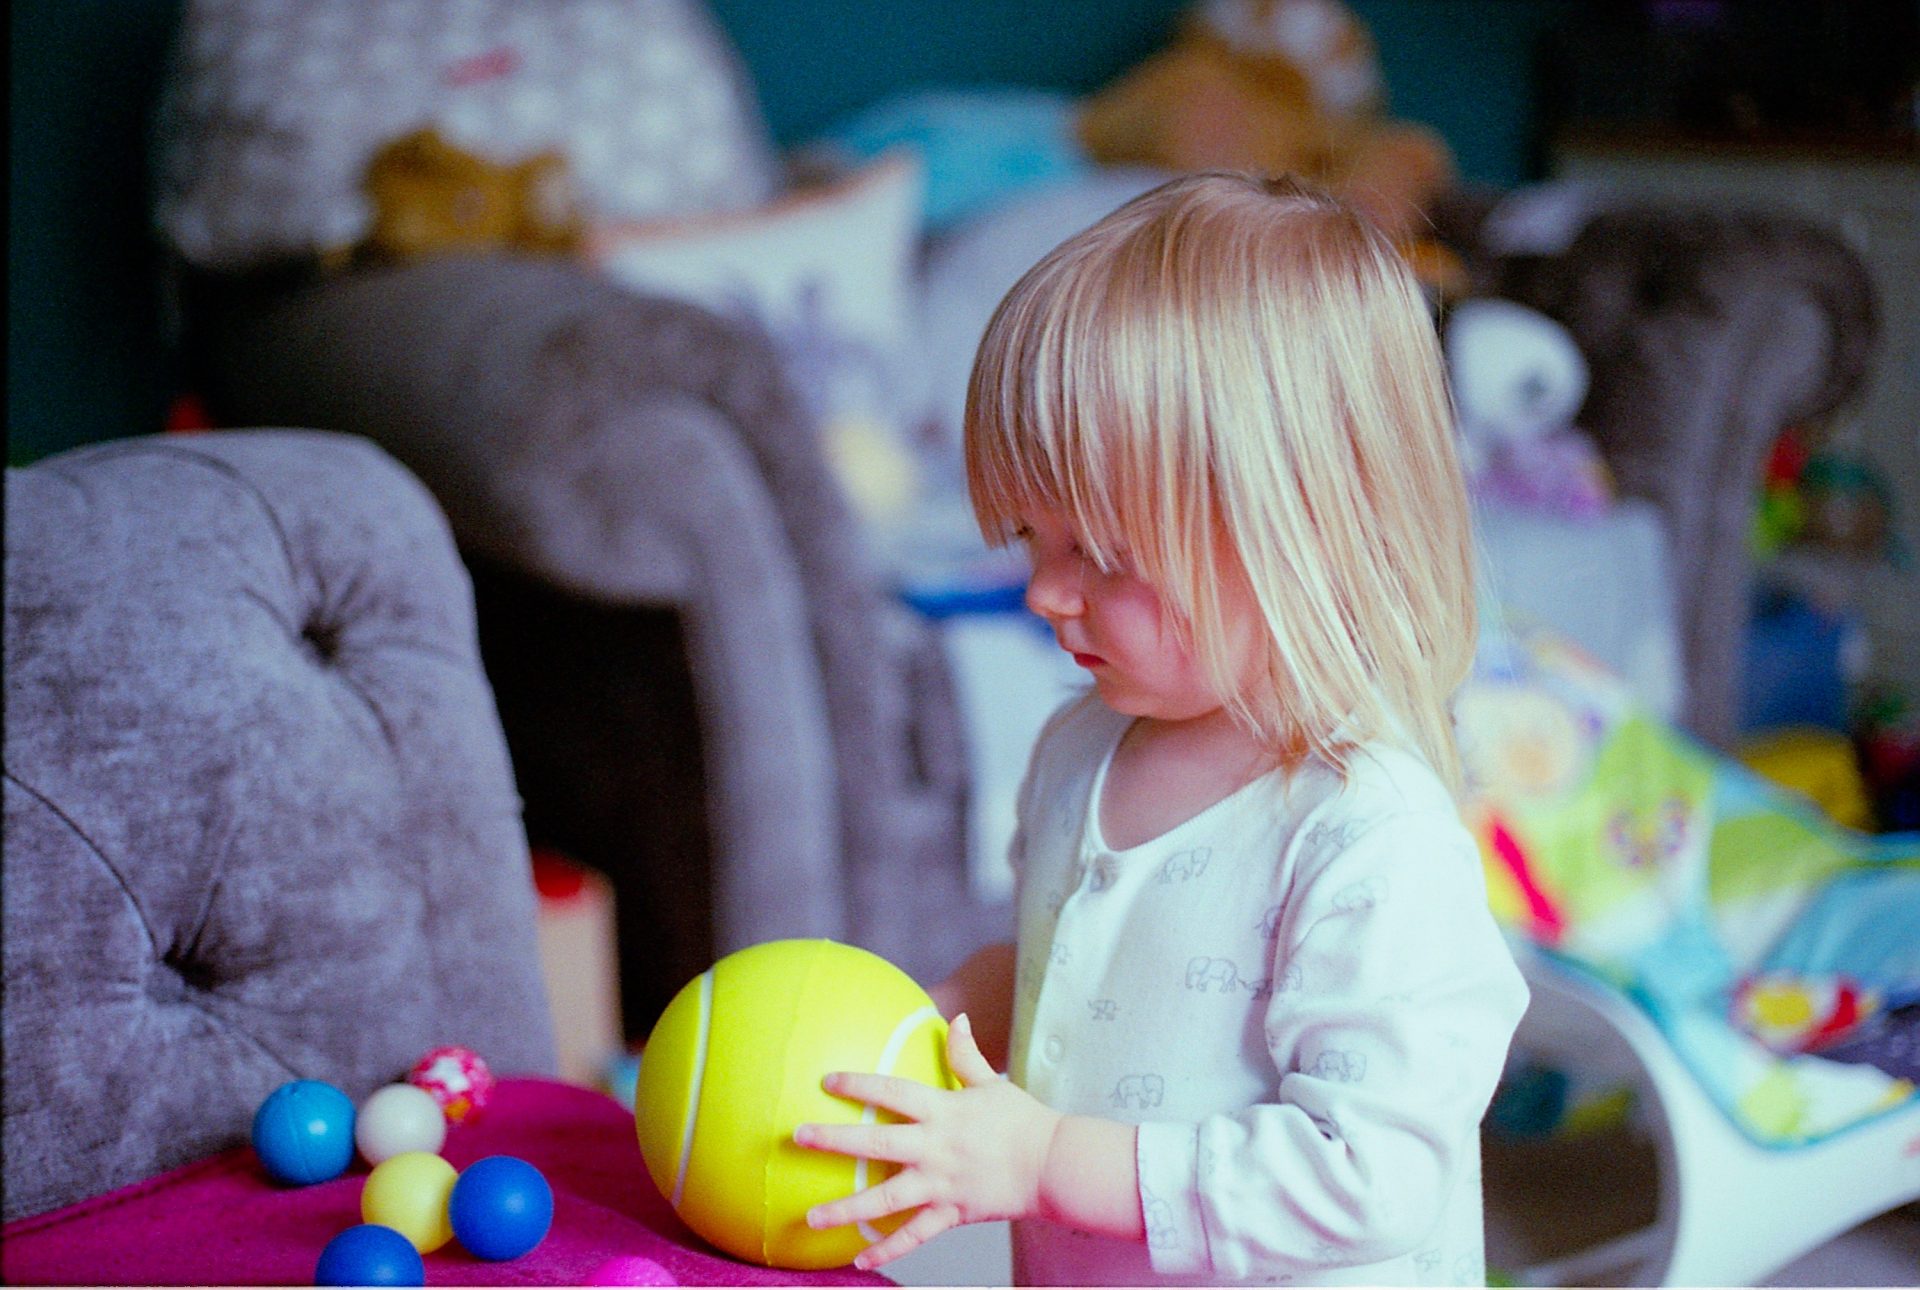
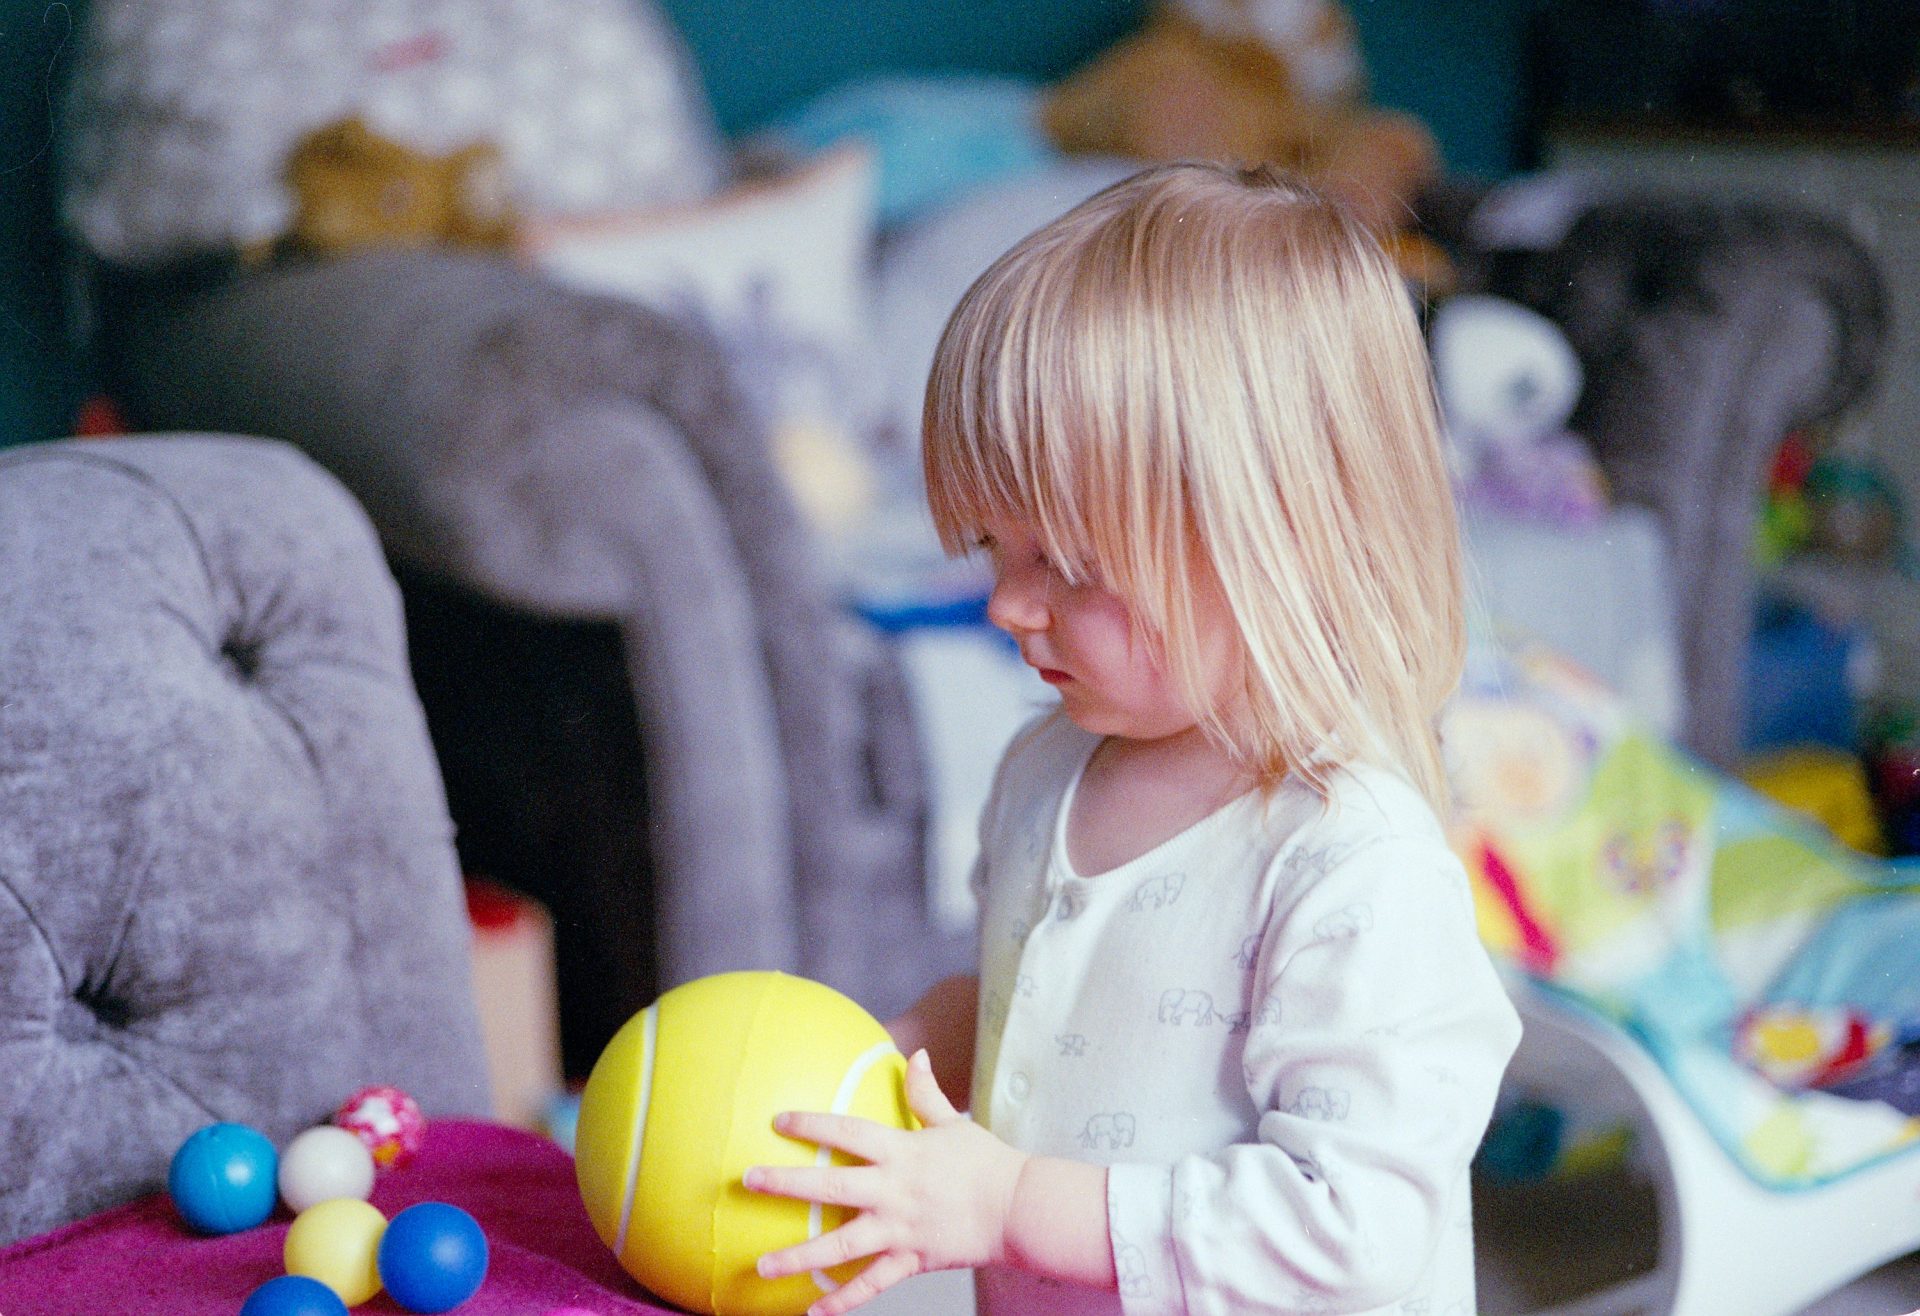
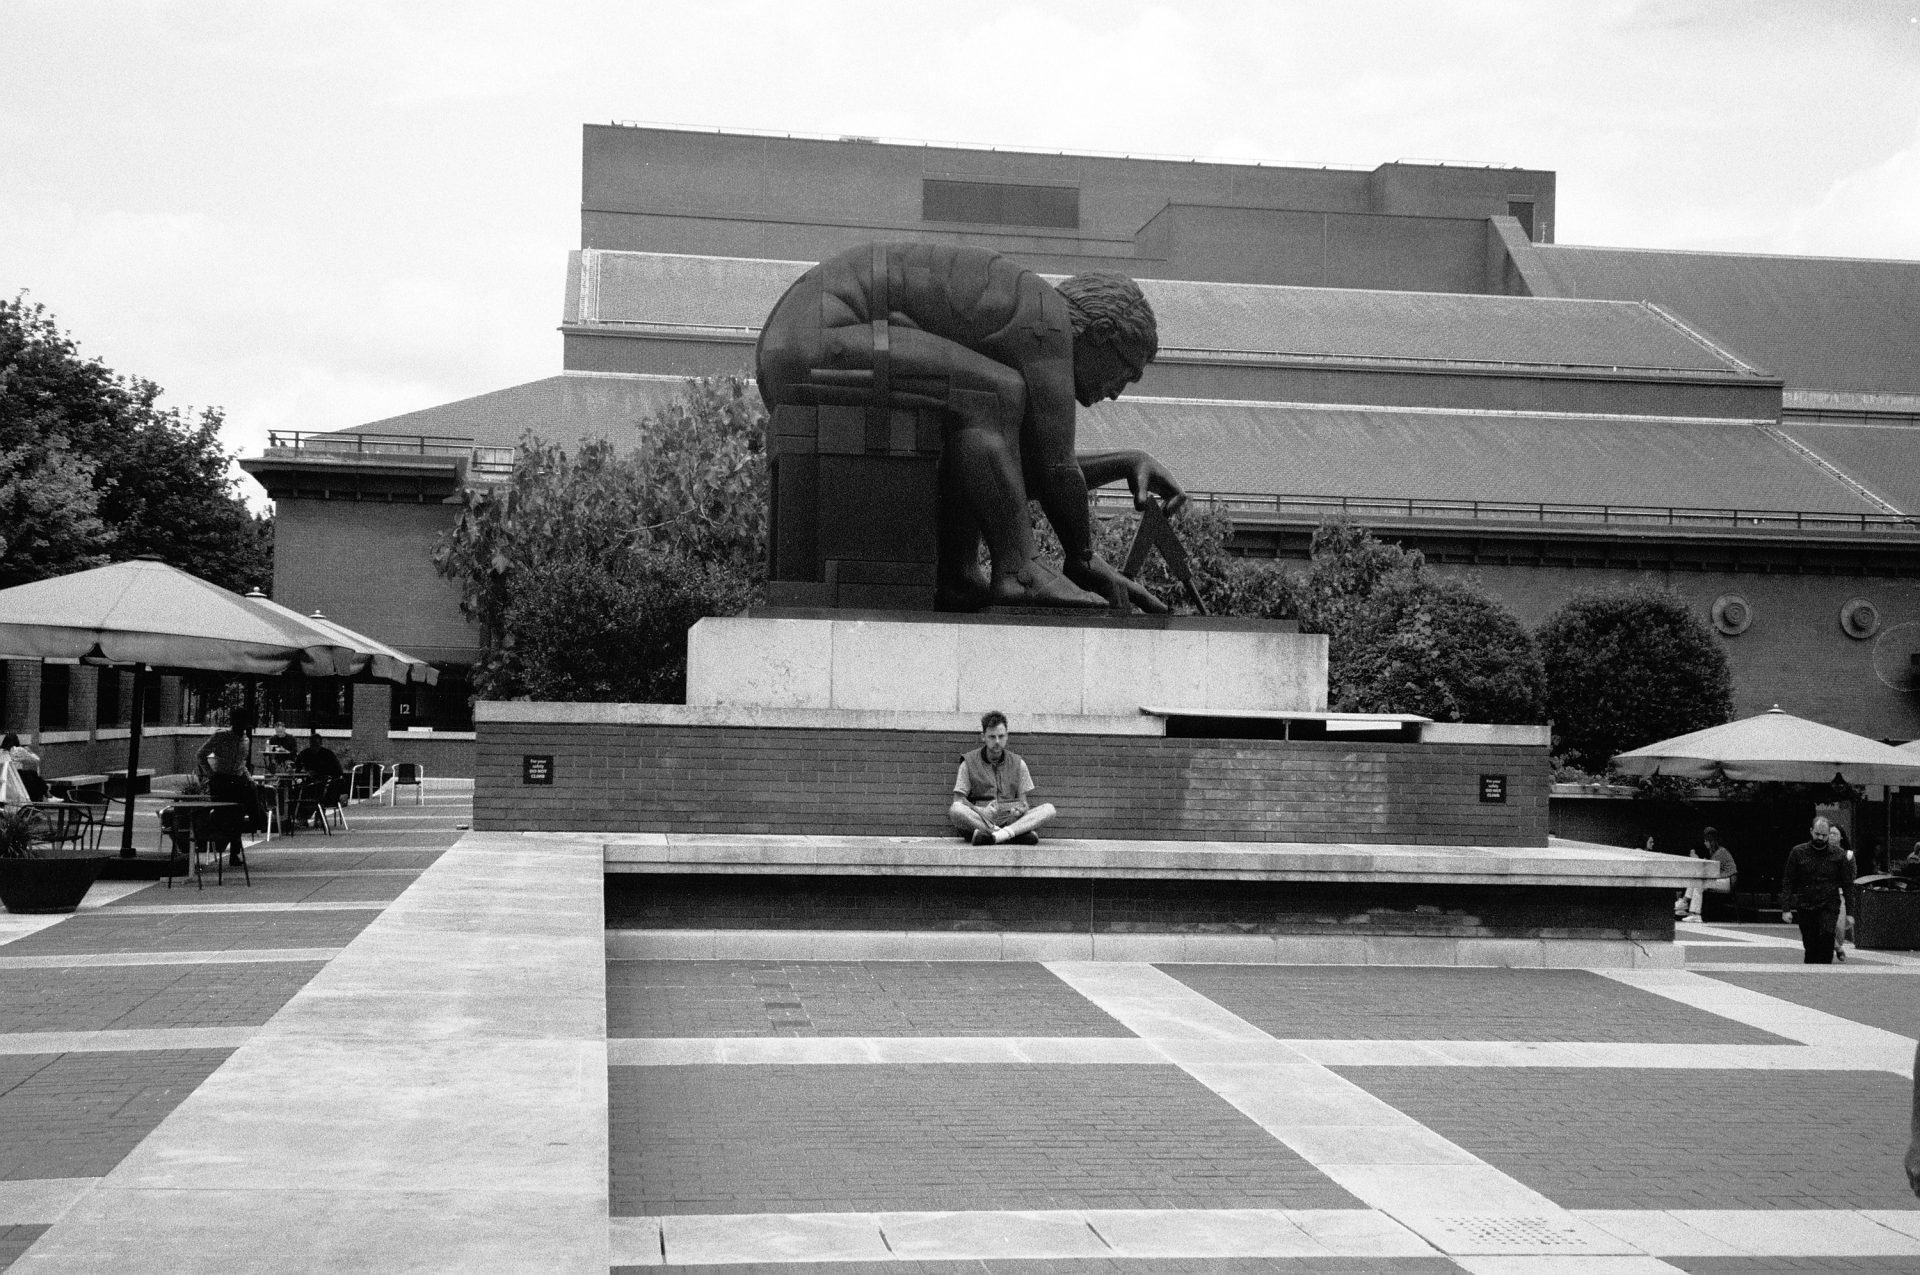
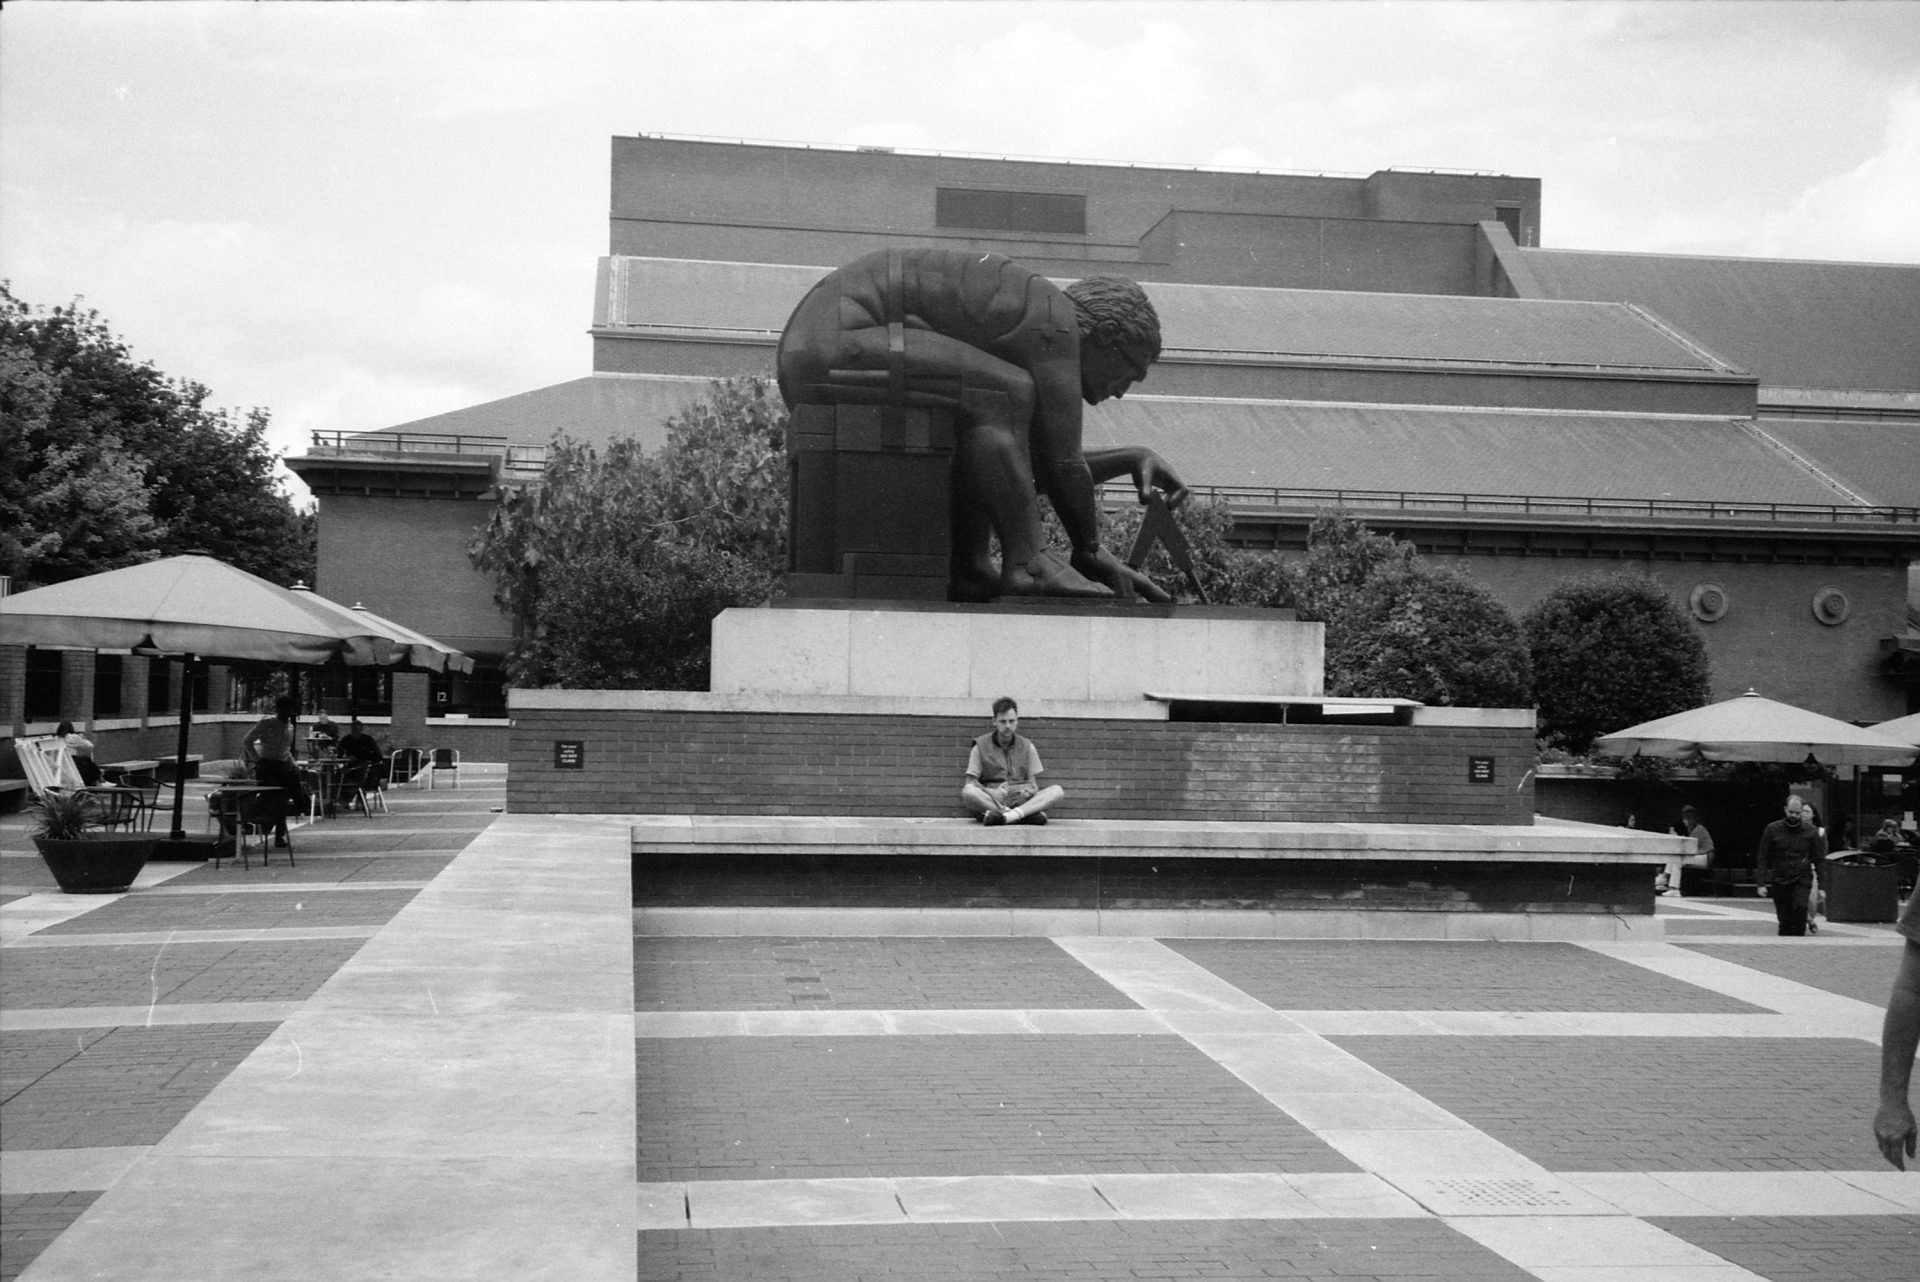
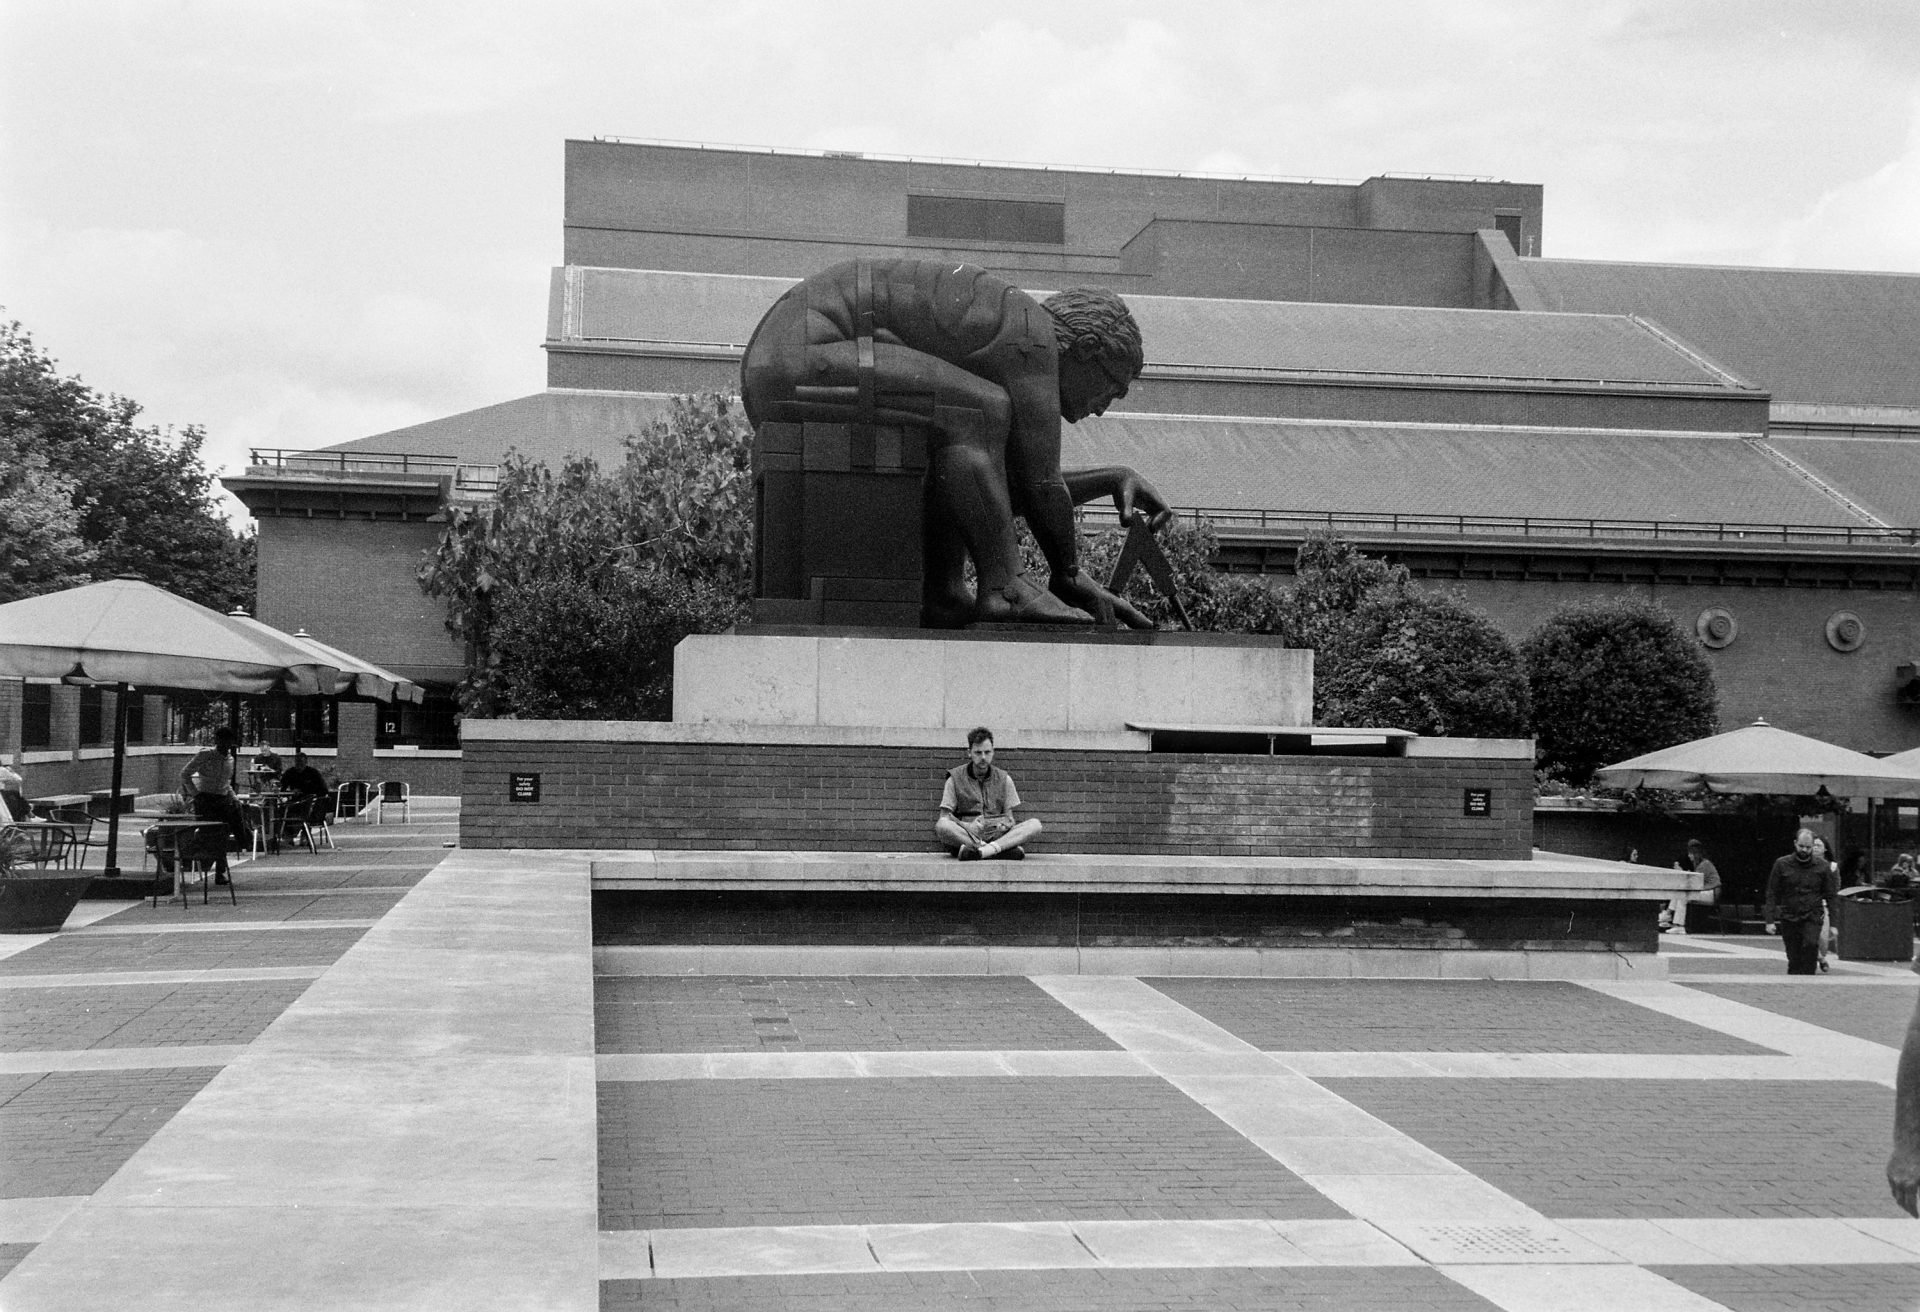
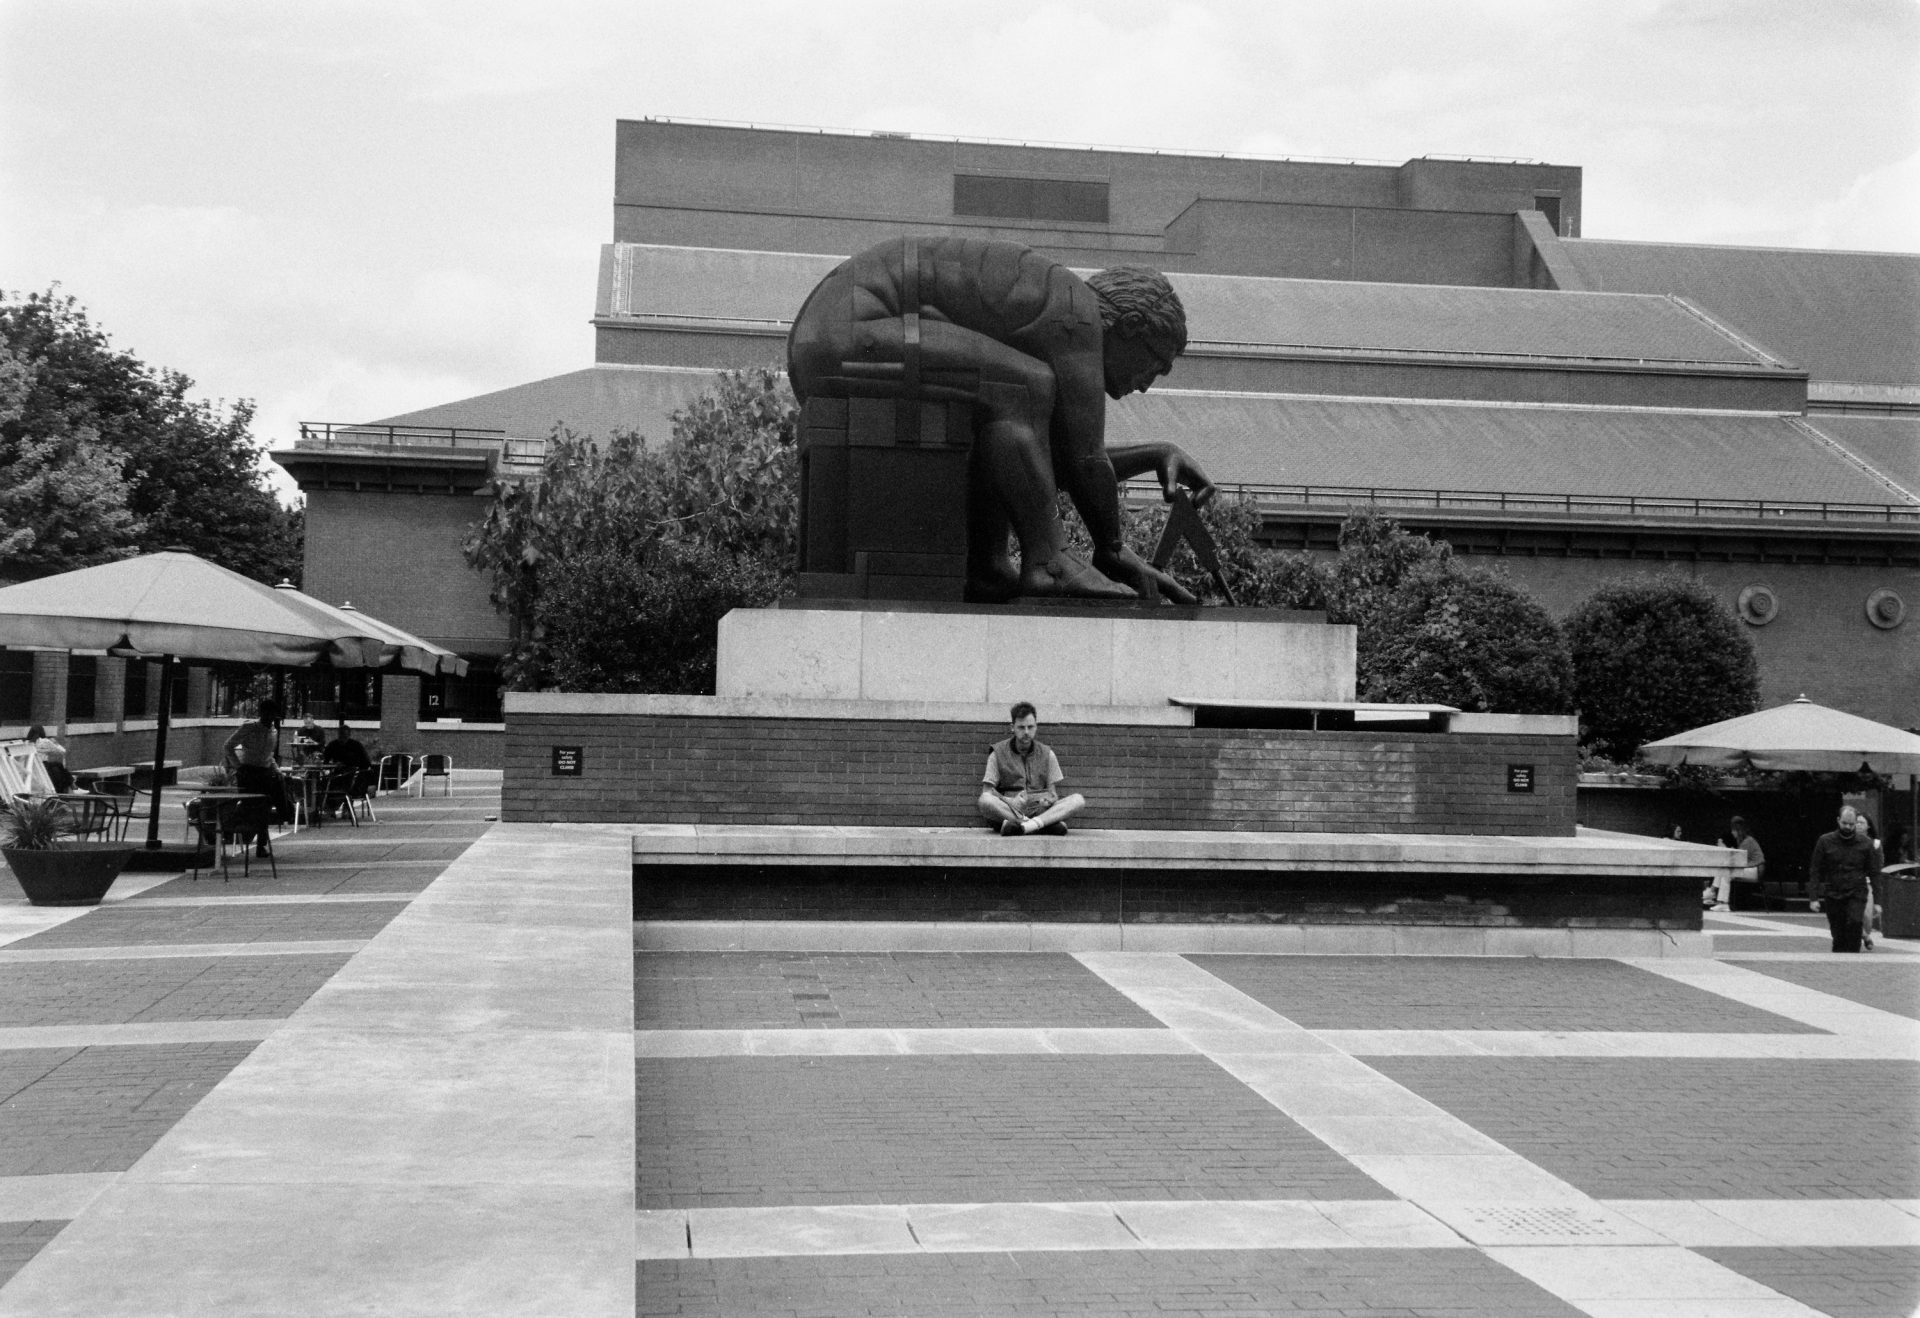
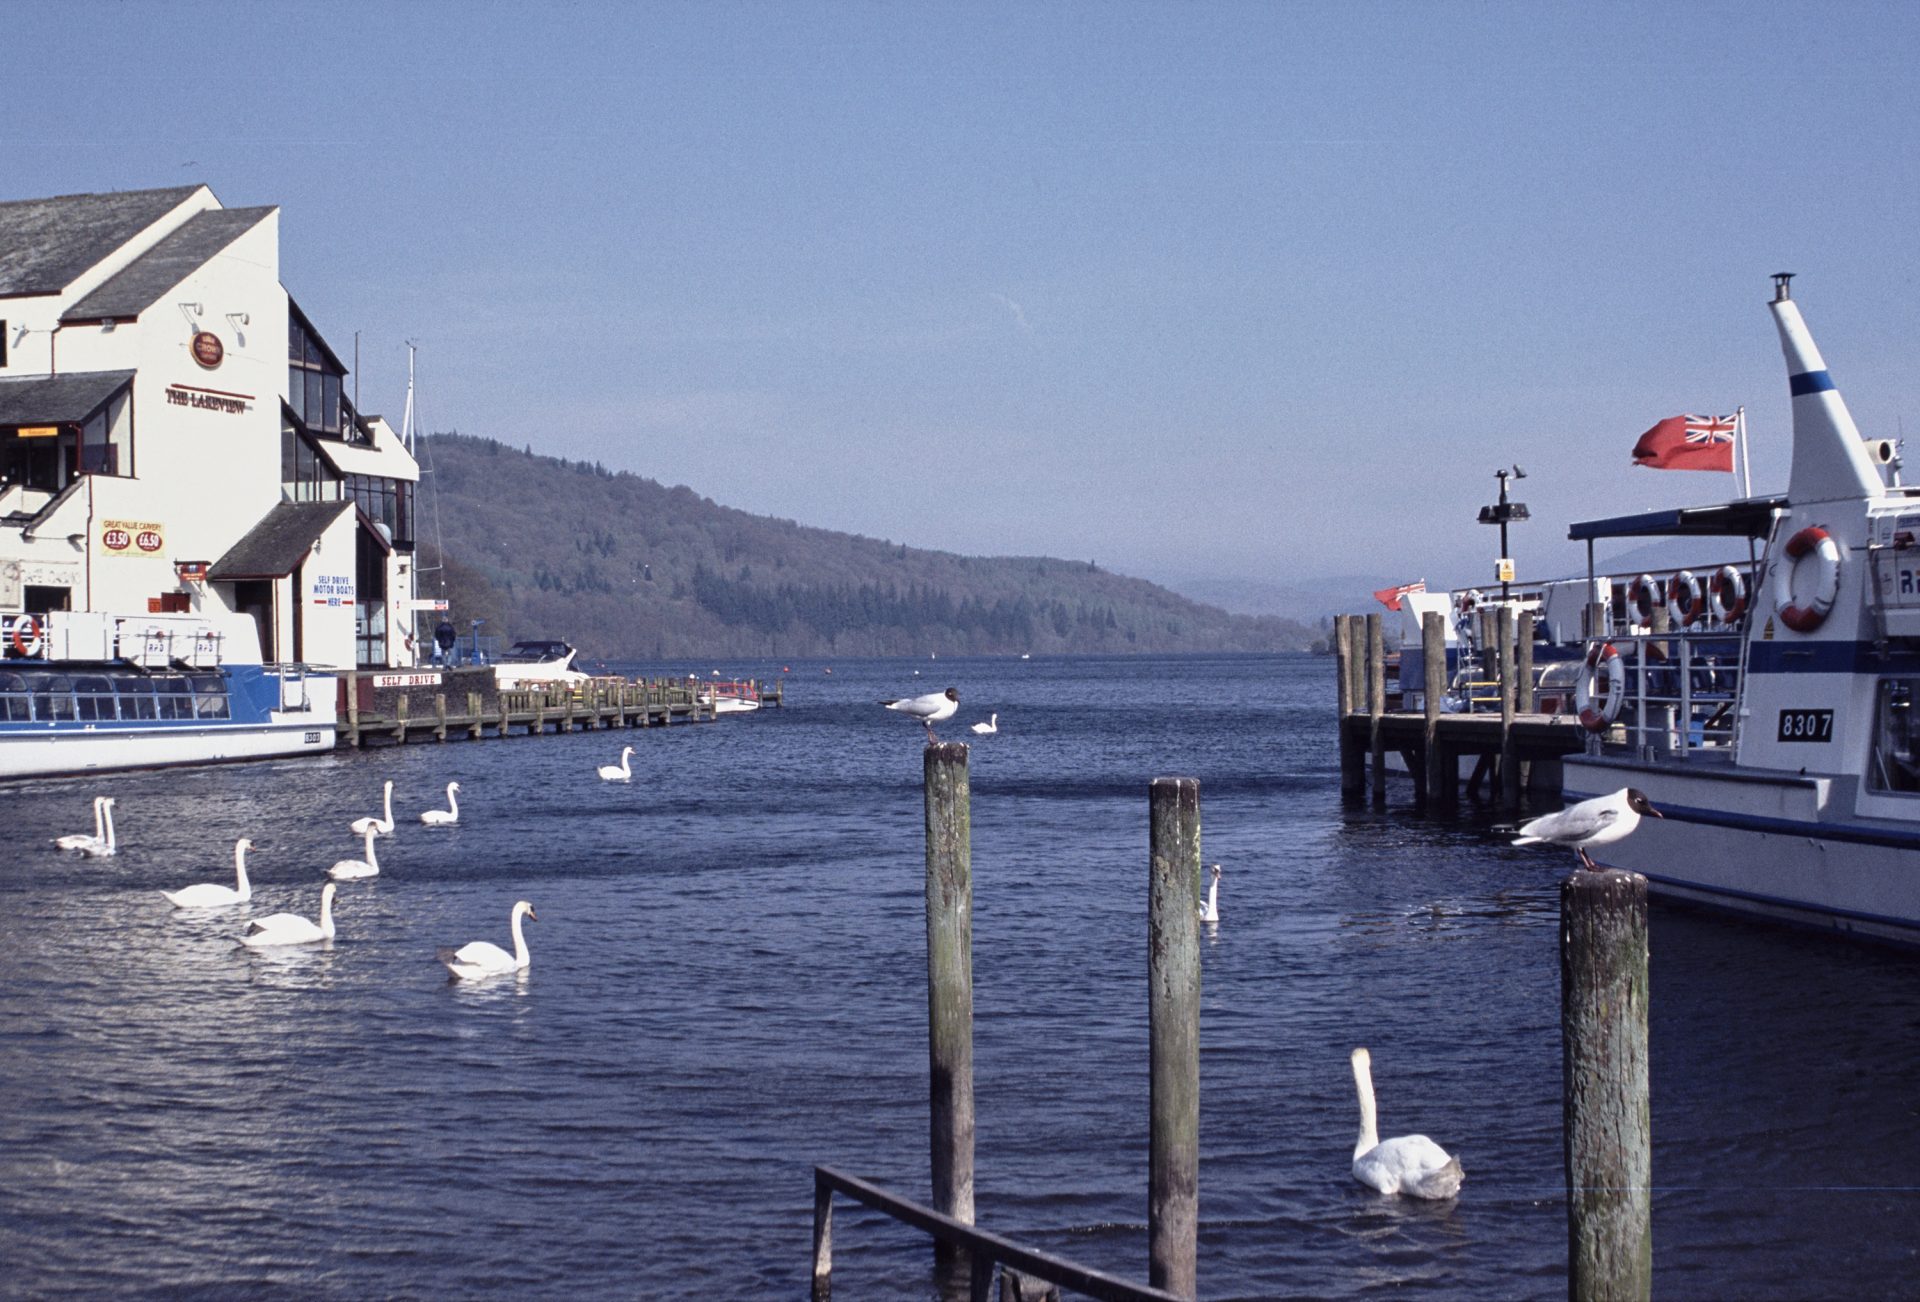
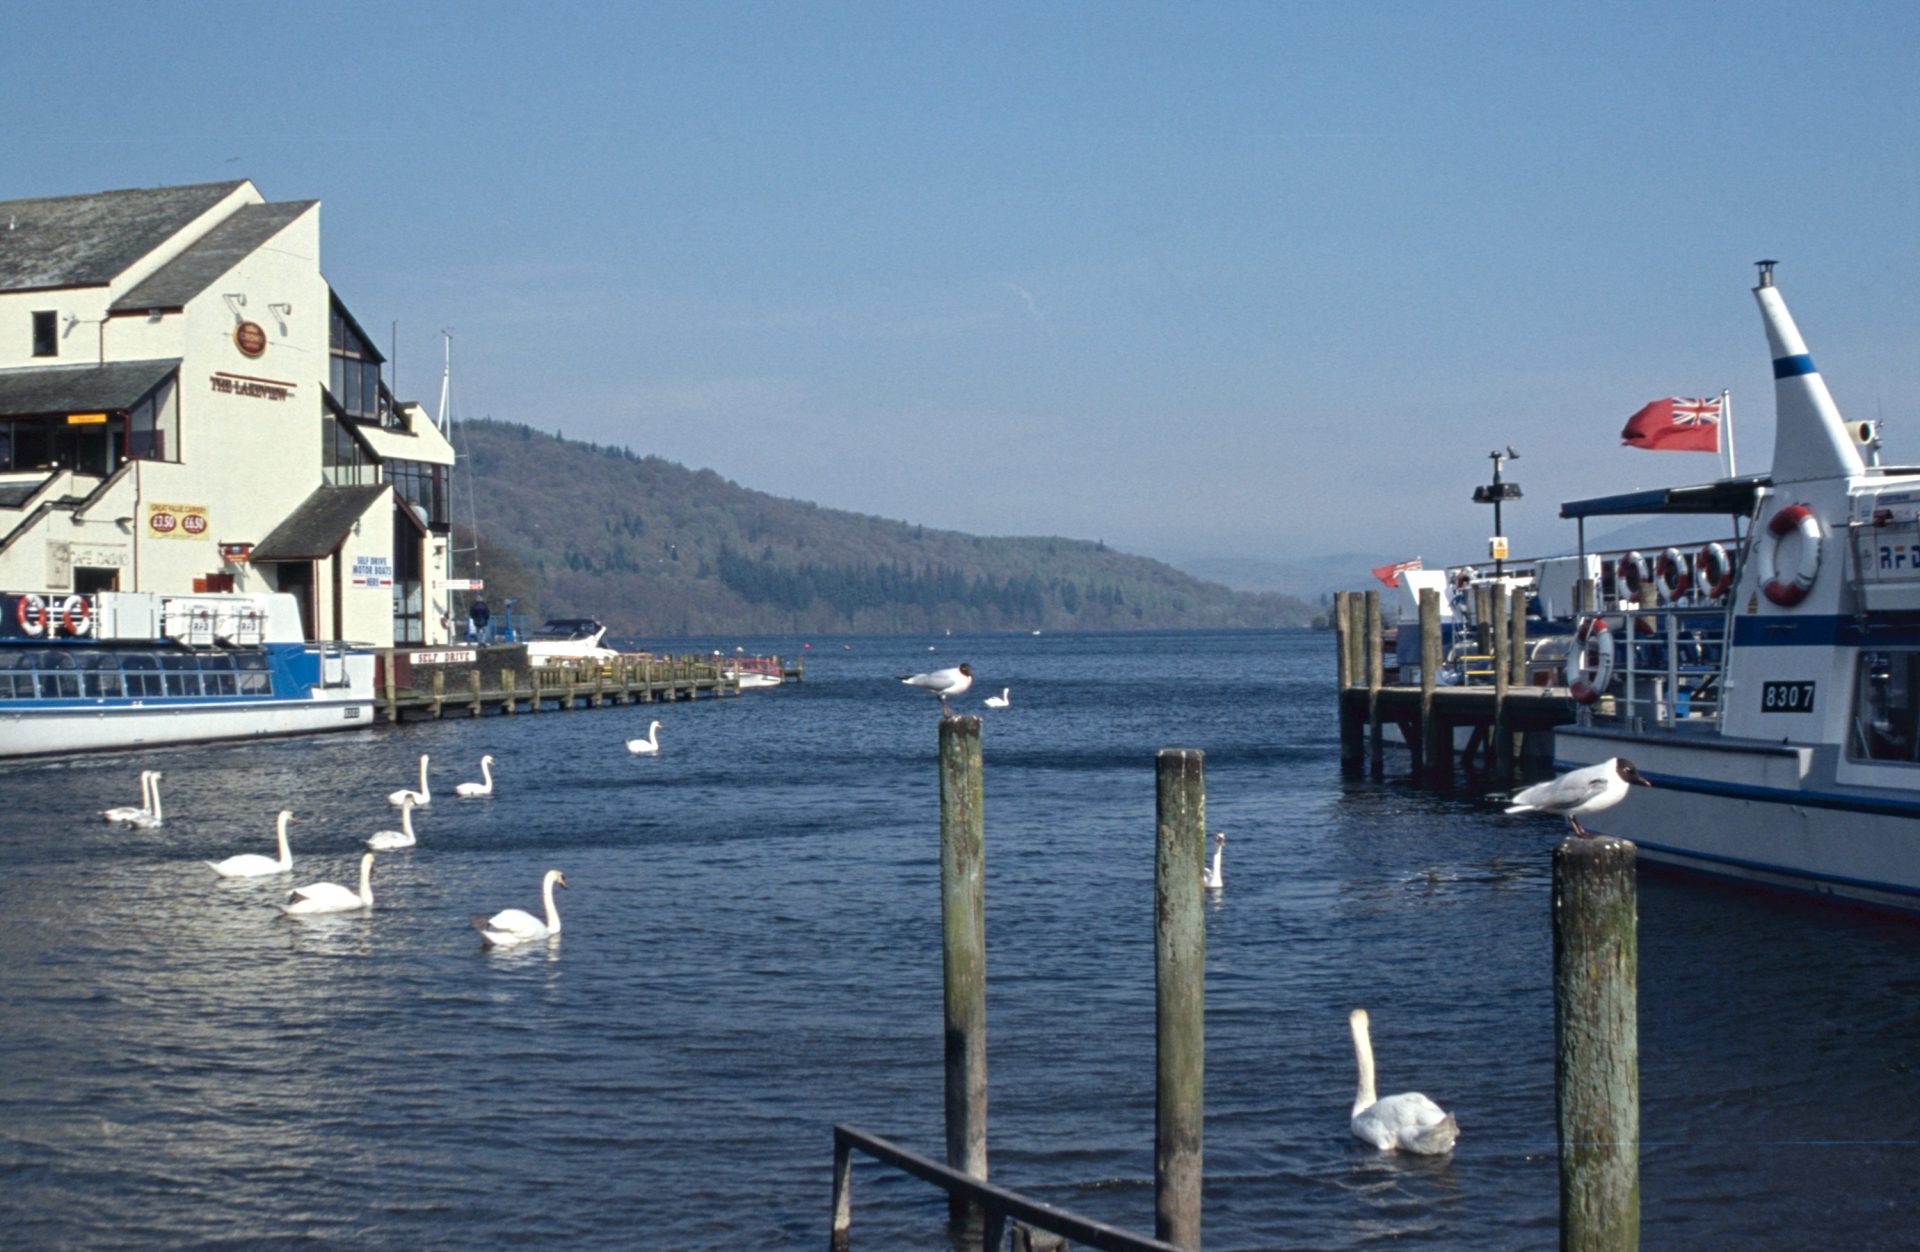
To give a more colourful comparison I scanned another negative and have processed all the images in a similar way, except the lab scan that is as it came from the lab. These images have been adjusted, sharpened, and resized to 3000 pixels across as you might do for posting online. The original negative is also included just to show the starting point for the camera scanned images.
Minolta DiMAGE Scan Elite II Scan
Epson V500 Scan
Canon 5D MkIII Scan
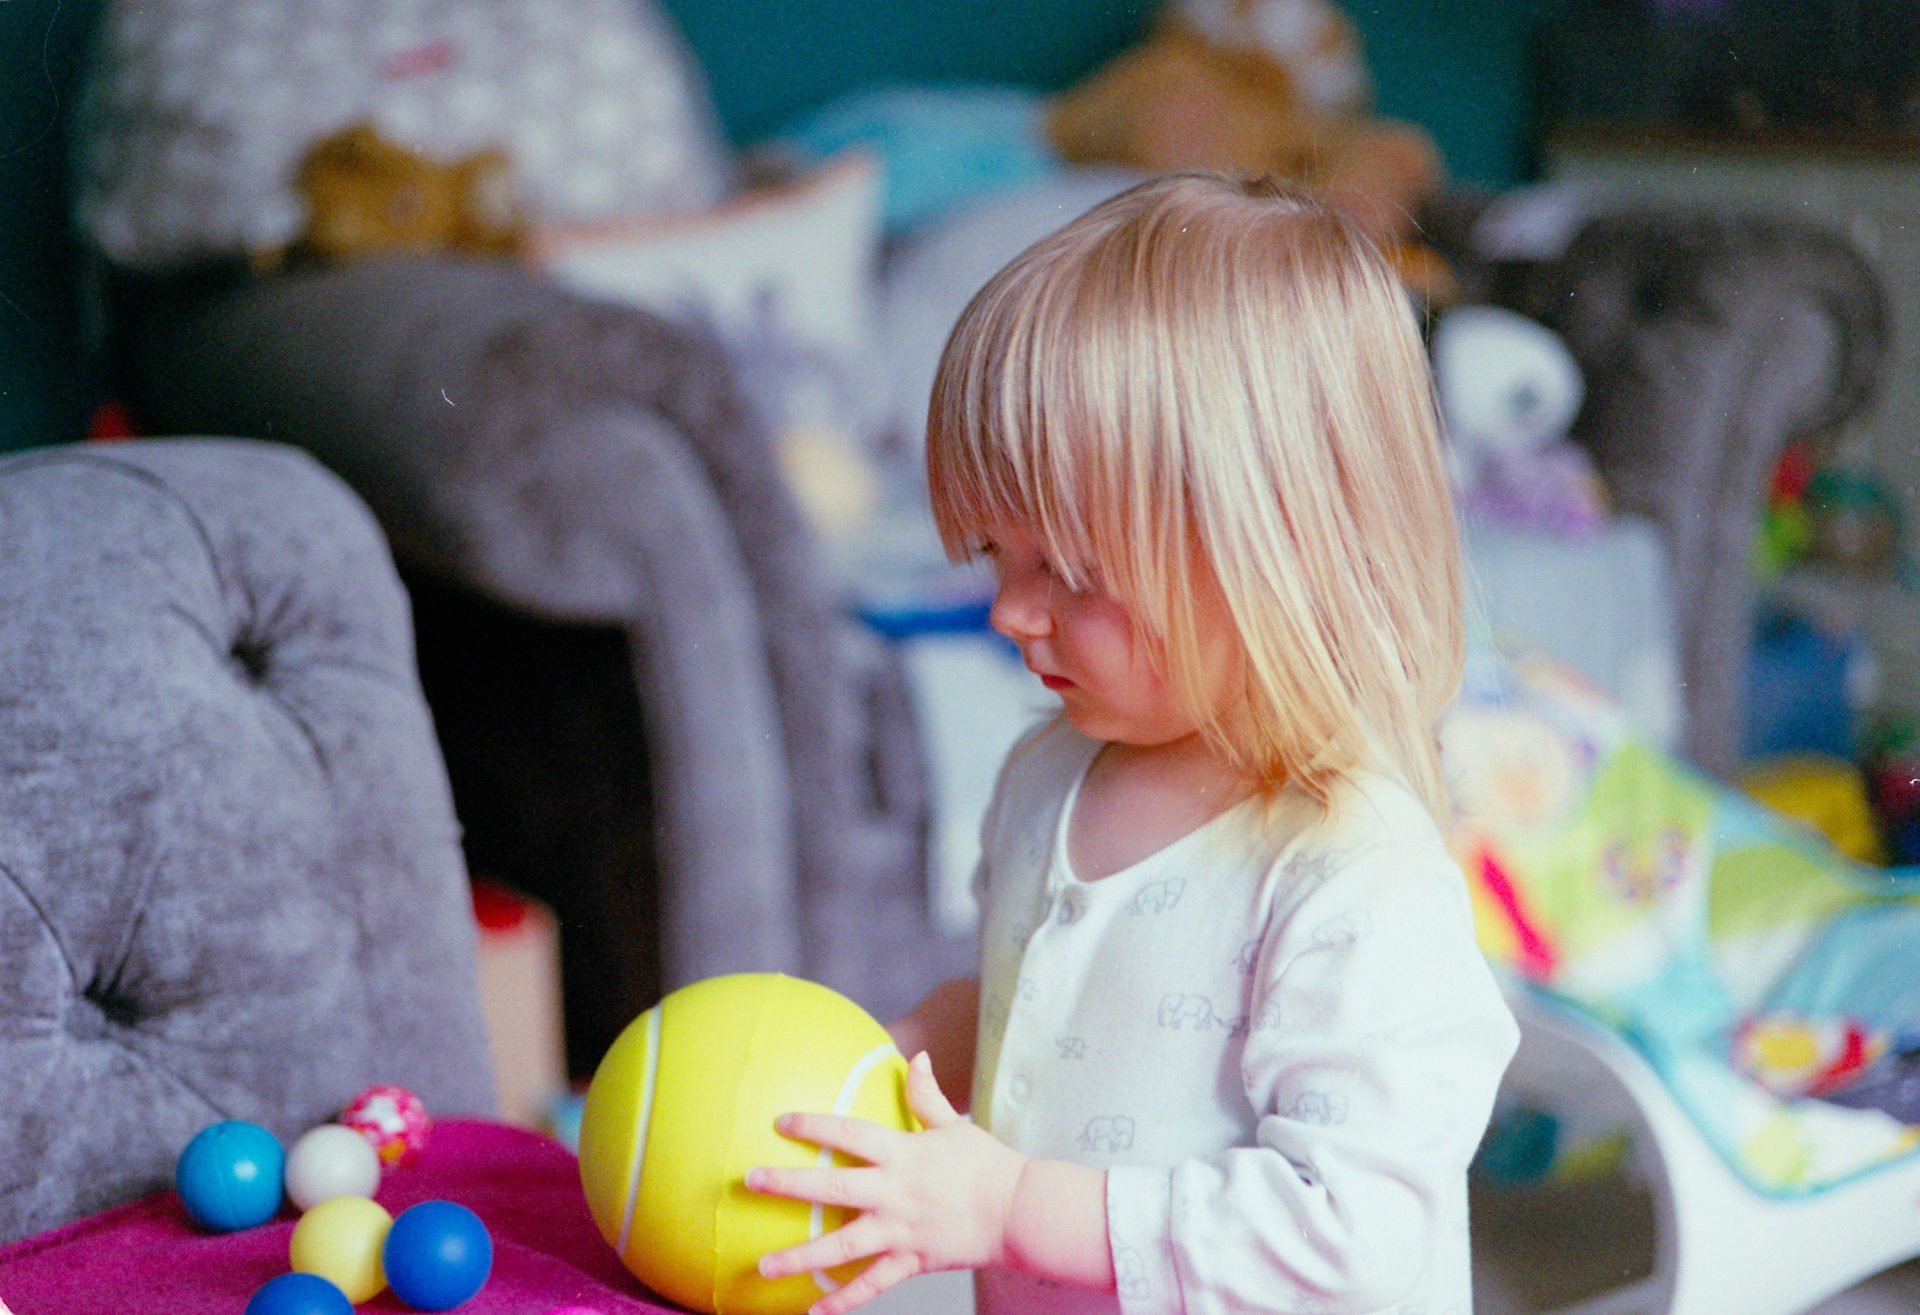
Fujifilm X-T3 Scan
Lab Scan
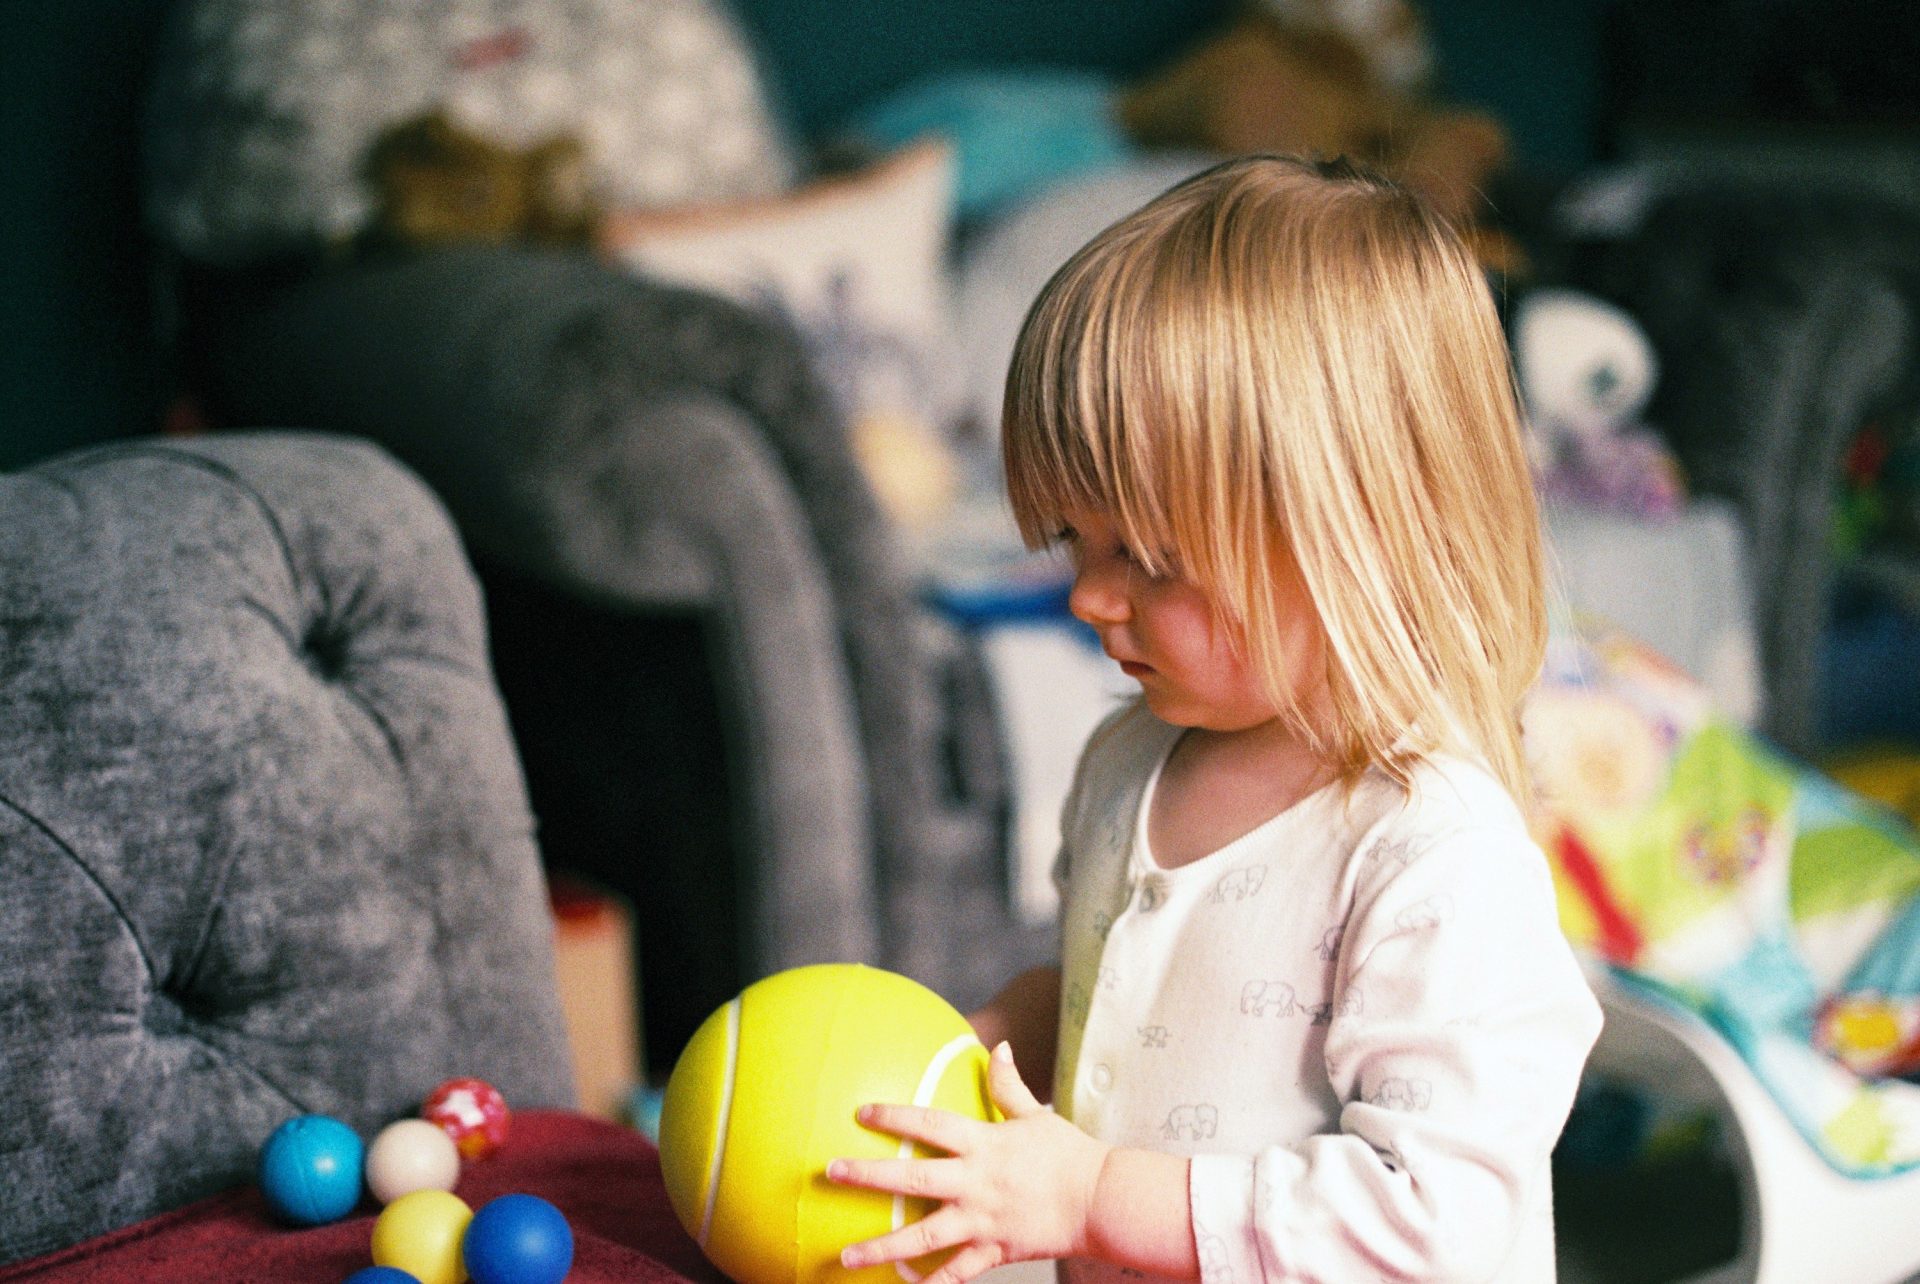
Original Colour Negative

The key points I can highlight from comparing these images are:
- All of the images are good enough resolution for social media. If you aren’t pixel peeping then they all produce a similar overall image.
- The colours have come out quite well from all the scans. The lab scans are too saturated and warm for my liking but they are just about usable in this case.
- Both the lab and the Minolta scans are too bright on the white sleeve, meaning they have lost all the detail in these areas.
- The Minolta, Epson, and Lab scans are clean while the camera scans show plenty of dust and hairs if you look closely (and this was with me using a brush and air blower to clean them!)
Let’s move on to look at how black and white negatives scan.
Black and white negatives
Scanning black and white negatives is relatively easy compared to colour negatives as you don’t need to worry about getting the colours looking realistic. When scanning black and white film the main concerns will be capturing the contrast and grain of the film, which give the specific look for the film type you are using.
I don’t have any lab scans for a black and white negative so we will focus on the home scanning options. I think we could safely assume the level of detail would be the same as colour negative lab scans but I can’t comment on how they would look.
Black and white film has a much more simple structure than colour film as it does not need to capture all the colours separately. When black and white film is developed the image you see is made up of tiny crystals rather than the colour dyes you see in colour film. These crystals lead to one big issue when scanning, that most film scanners cannot use their built in infrared dust removal systems. Dust removal often detects the crystals in B&W film as dust, which can lead to unwanted changes to the image as the software tries to clean them up!
This lack of automatic dust removal puts the dedicated film scanner and the Epson flatbed in the same boat as camera scanning, dust must be manually edited out after the scan.
As with the colour negatives I have prepared a comparison using all the scanning methods. These scans have been edited to have similar exposure levels but have not been sharpened so you can see how they look straight out of the scanner:
B&W Scanning Comparison
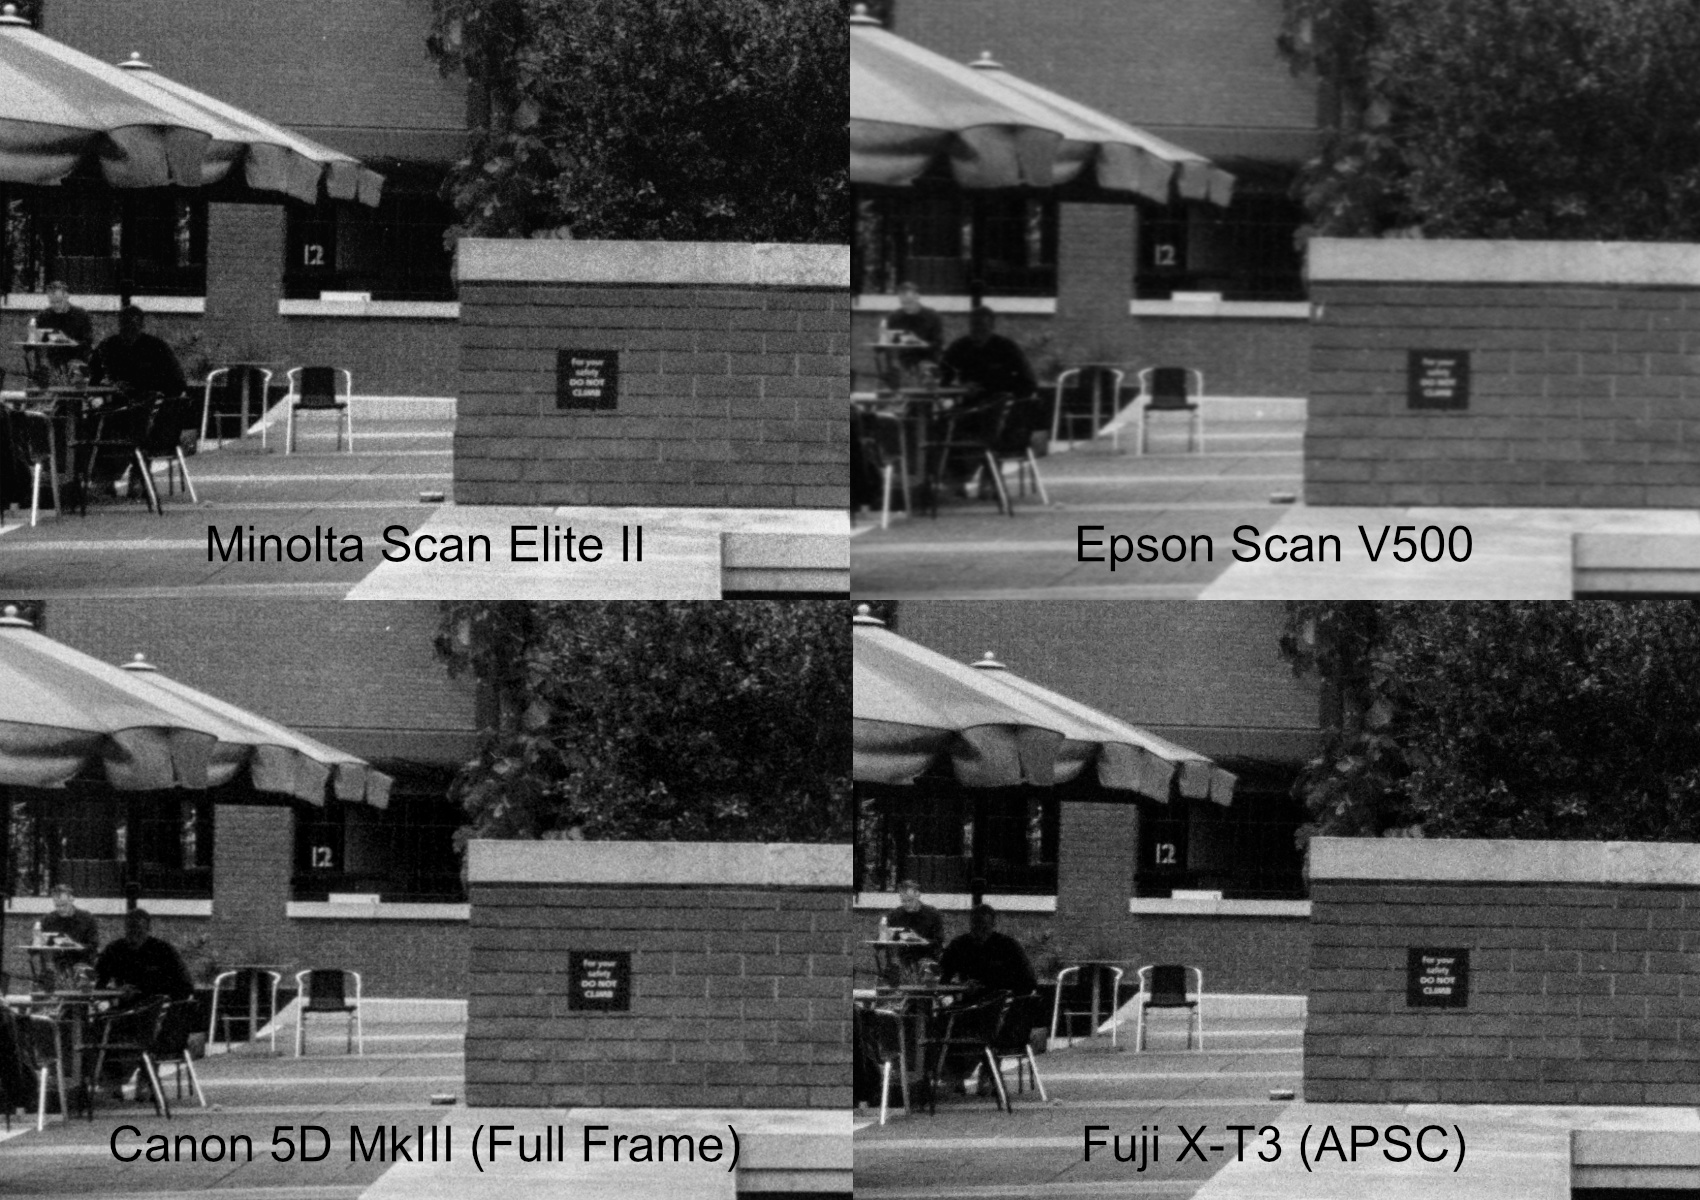
The key takeaway from this comparison is that the Minolta and camera scans have a similar resolution with clearly visible grain, while the Epson V500 scan shows significantly less detail and a smoothed appearance without visible grain.
To show how the final images look I have edited and sharpened the scans below, then resized to 3000 pixels across, which is more than enough for social media use. The unedited negative camera scan is included for reference, which was shot on my Fujifilm X-T3.
B&W Negative Minolta Scan Elite II Scan
B&W Negative Epson V500 Scan
B&W Negative Canon 5D MkIII
B&W Negative Fujifilm X-T3
Original B&W Negative Scan
The conclusions here are very similar to the colour negative scans. All the scanning methods provide a clear enough image for social media use, but if you are planning to print an image then you should ideally choose one of the sharper scanning methods.
As you can see it is possible to get very similar final results regardless of the scanning method used. When editing B&W images the lack of colour means you only need to focus on the tones and contrast in the image. People have different preferences for the amount of contrast in black and white images, so how the final image looks is really up to you as it would be if you were printing in the darkroom.
Most people shooting film today will be using either colour or black and white film, however there is one more type we will look at today – slide film.
Colour slide film
When slide film, otherwise known as positive film, is developed it provides an image with all the colours around the right way rather than inverted like negative film. This type of film was originally used in slide projectors so you could project the image on to a large screen to share with your friends, hopefully without boring them to death in the process.
Slide film is the most expensive and least readily available type of film today. One 36 exposure roll of Fujifilm Velvia 100 costs an incredible £30, so by the time you add on the £16 basic E6 developing without any scans you are well above £1 per frame. All this means that you need a good reason to shoot slide film rather than colour negative. Slide film is also a lot less forgiving than negative film. A slight under or overexposure will have a dramatic impact on the final developed image.
I have only even shot 1 roll of slide film, and that was on the now discontinued Fujifilm Sensia 200 stock back some time around 2008 or 2009. I have used this film for my comparison scans.
Slide Comparison
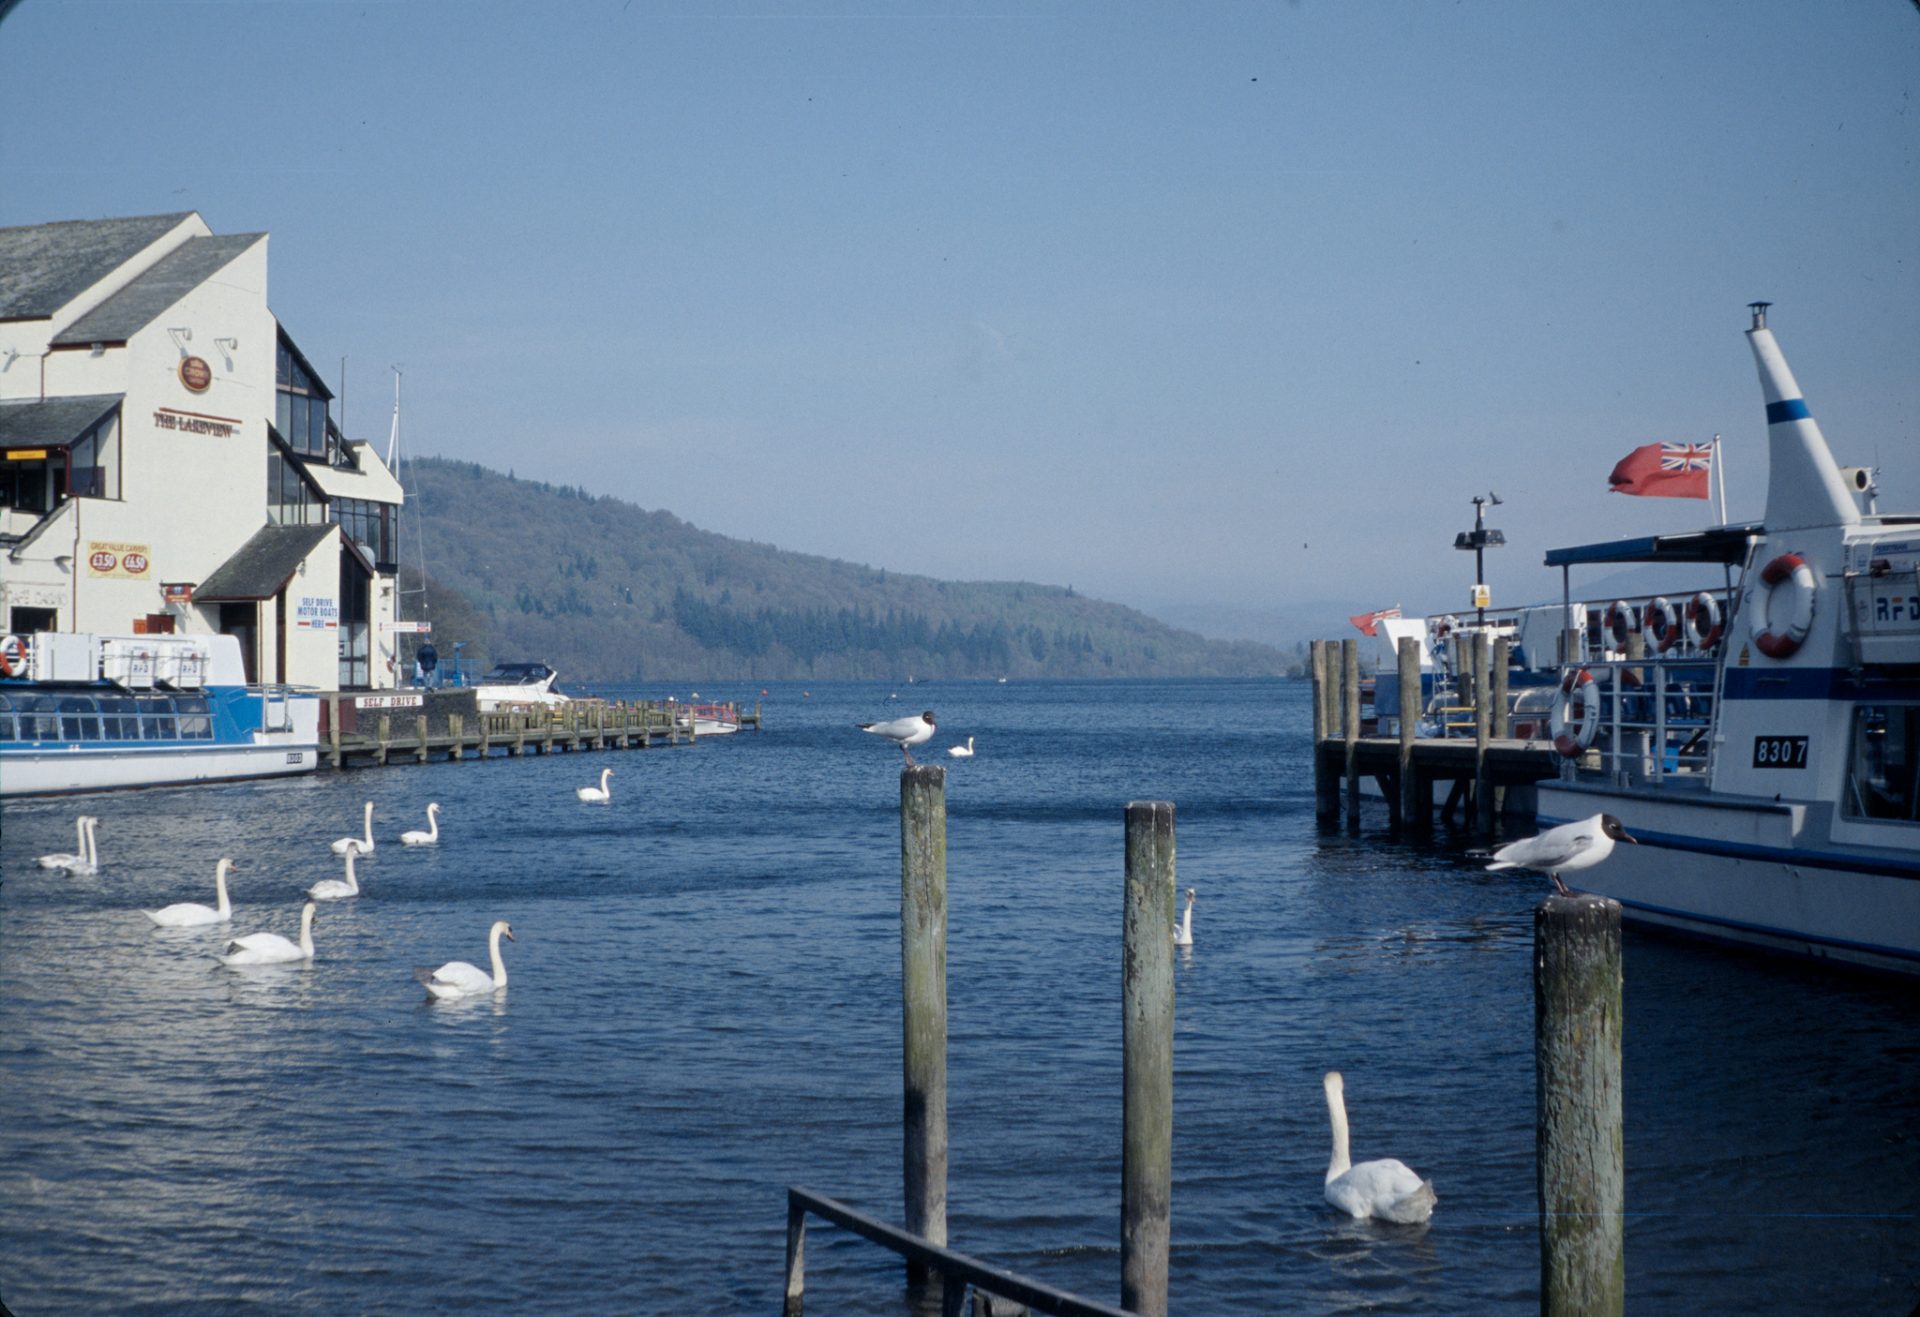
Slide film typically has a very high resolution and this shows in the scan comparison. The Epson V500 again shows the softest image of the four, and in this case the Canon and Fuji camera scans show better resolution than the Minolta scan. Perhaps with some tweaks the Minolta scan could be improved, but in these sample images the lower resolution can be seen in the text on the signs and the railings on the boat.
Because the slide already shows the correct colours is is much easier to get a consistent look across the different scanners. There are some minor differences in white balance, but in general all the scans look quite similar.
As with the other film types I have prepared finished images with some basic adjustments and sharpening. The images have been resized to 3000px to give a realistic idea of how they might look on social media.
Minolta DiMAGE Elite II Slide Scan
Epson V500 Slide Scan
Canon 5D Mk3 Slide Scan
Fuji X-T3 Slide Scan

There are no surprises here, the Epson image has the lowest detail while the others are more or less the same. The difference between the Epson and the rest of the scans is more pronounced than the other film types, perhaps because of the level of detail present in the slide film.
Apart from the resolution the scans are quite similar. The colours match quite closely so the only other real difference is the presence of dust and dirt on the camera scans which was automatically removed by the Minolta and Epson scanners.
So which method is best?
After many hours spent scanning and editing what conclusions can we draw?
The main conclusion for me is that the best scanning method depends on what you want to get out of your negatives, and your budget. Let me explain a little more…
The easy method – Lab scanning
If you don’t mind the extra cost and either find a good lab with consistent scans, or get high quality TIF scans that you can adjust later, then lab scanning is the lowest friction method to get your images.
As we showed above, the resolution even for a mid range scan is plenty good enough for most uses, and may even exceed the resolution of the film being scanned. The main down sides are the high cost and the lack of control over the final image.
The rough and ready method – Flatbed scanning
I have tried several flatbed scanners over the years, I currently own two from Epson, and the results have always been a little blurry. From test reports online it seems that even the high end expensive flatbed scanners like the V850 can only reach 2300dpi in reality, giving a 7 megapixel image from a 35mm negative. My advice is that if you can get a decent film capable flatbed scanner for a low price and just want a quick and simple way to get images from your negatives then by all means use this method.
When scanning with a flatbed, like the Epson V500 I used here, you will need to experiment a little to get the sharpest results, and even then just be aware that the images will most likely be a lot softer than other scan methods.
The higher quality but slow method – Dedicated film scanners
For high quality scans at home things become more complicated. If you don’t already own a DSLR or mirrorless camera, and don’t plan to buy one, then dedicated film scanners can look like a good deal in comparison to a camera and macro lens. Current models such as the Plustek OpticFilm 8300i AI cost nearly £500, but do offer several advantages over camera scanning:
- The supplied software allows easier conversion of negatives
- Built in hardware based dust and scratch removal using an IR scan
- Some have autofocus systems to ensure sharp scans (not the Plustek mentioned above)
- The scanner is ready to go without any complicated setup, and takes up little space
One downside of a dedicated scanner is that it will be quite slow. My Minolta scanner took several minutes for each frame as it would focus, do a IR dust removal scan, then the image scan. If your scanner does not automatically move to the next frame then it means you have to sit there for more than 1 hour to scan a 36 exposure film.
Looking at test reports even this new Plustek scanner will only achieve a real resolution around 3250dpi, so about the same 7MP resolution as the flatbed, but the scans should be significantly sharper. Overall, if you want to a simple and higher quality way to get scans then a dedicated scanner can make sense but be aware that if you want the best dedicated scanners than you will need to buy an older second hand scanner such as a Nikon Coolscan V ED which currently sells for around £500 on ebay. If you do go for a second hand unit then please take my experience as a cautionary tale, you never know when it will stop working and become an expensive doorstop.
The highest quality but potentially expensive method – camera scanning
Going in to this testing I was expecting camera scanning to come at the bottom of the pile for scanning colour negatives, but after some experimentation I think I have achieved good quality consistent results, which I think says more about the software available today than anything else.
Some years ago when I first tried camera scanning it was extremely difficult and time consuming trying to adjust each image in Photoshop so that the colours looked at least something like the real world, but now in Darktable and Capture one there are dedicated negative conversion methods that make the process much simpler. So with my main concern out of the way, how does camera scanning compare?
The main positives of camera scanning are:
- Fast scanning – each frame can be captured in seconds after the initial setup
- Highest resolution – you can scan up to the maximum resolution of your camera, potentially 60MP or more.
- If you already have a camera and macro lens you need very little else, my JJC light and film holders cost around £20.
Camera scanning does have its downsides:
- Unless you have a dedicated space then you will need to set up and align the camera every time you need to scan
- There is no automatic dust removal. It is essential to keep everything clean and to use a brush and blower to remove as much dust as possible before scanning
- Each image needs to be converted and cleaned up in editing software, but there are free options such as Darktable
My recommendation is to use camera scanning when you need the best results. You can start with a simple and cheap setup then if you feel the need you can upgrade to more feature rich equipment such as the scanning kits supplied by Negative Supply. As this is a specialist field all the better quality equipment is quite expensive, you could easily spend £500 on a high quality light source and copy stand.
I found little difference between using an APSC camera and a full frame camera. The images from both looked better than the other methods, so if you want a camera just for scanning then I would save the money and buy an APSC camera. I do think that a dedicated macro lens is worth it as it will give much better results than trying to use extension tubes or close up filters. I tried both these methods and was disappointed by the results so I bought a second hand macro lens which dramatically improved the scans. A macro lens is a worthwhile investment as it improves the scans and can be used for taking amazing photos of insects and other nature subjects!
For the editing side there are free options, and do bear in mind that typically you won’t need to polish every image. With a basic conversion you can see if you like the image, then you can just focus your energy on editing and cleaning up the keepers.
What will I choose?
After the untimely demise of my dedicated scanner will I be buying another one? The short answer is no, for now.
I have scanned all my old negatives and slides already, for which I am very grateful for the Minolta scanner as it produced good results with very little trouble, but from now on I will be camera scanning all the new film I shoot. I will shoot probably no more than 10 rolls each year, so for this small volume it doesn’t make sense to invest hundreds of pounds when I have a good solution already available.
After the experience gained here I am no longer so concerned about scanning colour negatives, so my last barrier for camera scanning has disappeared. I will be writing a more detailed article explaining how to set up a camera scanning rig and how to edit the images, which I will link here when it is ready.
This article took considerably more effort to prepare than I expected, but hopefully through all the examples and analysis you have gained some insight into the different methods for film scanning and when you should use each one.
If you have any insights for film scanning or your experience has been different to mine then please do share in the comments, it may be useful for other readers.
Thanks for staying with me through this mammoth task, and hopefully I will see you again soon for my next article.