Content and images copyright Kristian Andrews 2024
Hello again everybody. Today I want to share my thoughts and findings on Harman Lab, the photo developing lab associated with Harman Photo, the manufacturers of famous black and white films such as HP4+, XP2 and HP5+.
This review was written in September 2024, and all the prices were correct at this time.
I have used Harman Lab twice now and have had a few problems, such as scratched negatives and bad scans, that have prompted me to want to try another lab for my next batch of films. Read on to find out more about the issues I found.
My reasons for selecting Harman Lab in the first place were:
- Their pricing is competitive with other labs
- Harman manufactures some of my favourite black and white films, so I thought they would be best qualified to develop them.
Below I look at how their pricing, developing and scanning stack up.
Pricing
The Harman Labs pricing is quite competitive, although I struggle to see the reason for such high prices if you want scans at a decent resolution. Harman Lab offer a range of film services including 35mm, 120, and sheet film development for B&W and colour negative (C41) film. They don’t currently offer colour reversal (E6) developing, but this film is not as popular as it once was and has a much high cost than negative film.
The film developing itself is quite reasonably priced, for example, developing a B&W or colour 35mm film costs only £7. The price does go up quickly if you need scans; for 35mm they offer the following options (price includes developing):
- Standard, 3.4 megapixel, JPEG £11.5
- Medium, 8.6 megapixel, JPEG £15
- High, 19.4 megapixel, JPEG £22
- High, 19.4 megapixel, TIF £27
This means that it costs an additional £20 to get good quality scans for a roll of film. Put this scanning cost together with the price of a film and analogue photography starts to look pretty expensive. Luckily there are ways to scan your film at home if you don’t mind spending some time on it, but that is a topic for a future post. Their scanning pricing is in line with their competitors, so I can’t really criticise this too much.
Harman Lab do offer free shipping to send in your films for developing, with shipping labels you can print out at home and a plastic shipping bag sent back with your negatives so you are ready for the next time.
Developing
In my most recent order I sent in the following to be developed:
- 1 x 120 black and white film, developing and standard resolution scanning
- 1 x 35mm colour negative (C41) film, developing and medium resolution scanning
- 2 x 35mm black and white films, developing with no scans
I will discuss each type of film separately below as they all had their own quirks.
120 Film Black and White Developing
Starting with the 120 film, this was a test film for me as I was trying out a Yashica Mat 124G for the first time. The developing looks fine, with good density and even development across the whole film.
There are no dust or water marks on the emulsion side but unfortunately there are some minor scratches running length ways down the back of the film. These scratches could only have been caused by the development process as there is a paper backing on this type of film, protecting it in the camera. The scratches run over 3 frames in the middle of the film but luckily do not show up in the provided scans.

The negatives were cut into strips of 3 and returned in a clear plastic sleeve. It is a shame there is no option to return in a filing page that could be added straight into a binder, but I may be in the minority with this requirement. Of course the negatives can easily be transferred to negative binder pages at home for storage.
35mm Colour Negative (C41) Developing
I wasn’t sure what to expect with colour negative developing from Harman Lab. Harman only recently started manufacturing colour negative film, so they are not the first name that comes to mind for colour films. When I previously sent in some colour negative films to Harman Lab they came back with a green base colour, something I had never seen before in many years of using colour film. I will give Harman Lab the benefit of the doubt here as the films were very old and long expired (shot more than 10 years before development). The most recent film has come back with a red/brown base colour as you would expect for colour negative film, and the quality of the developing looks fine to me. The film has even development, good colour and contrast, and was free of any major dust. The film was returned in clear plastic negative sleeves that look like they came off a big roll. Again the option of returning in filing pages would be appreciated to avoid transferring at home.
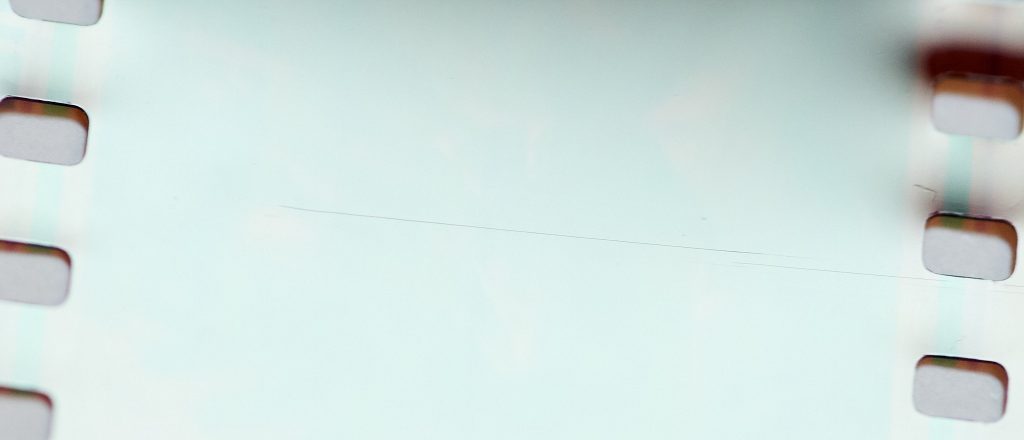
Unfortunately, like the 120 film, the 35mm film was returned with some scratches, this time across the width of the film approximately 23mm (1 inch) to the side of where the roll is cut into strips. I can only assume this is related to the machine that cuts the negatives after development. The scratches don’t show up in the scans that were provided, but I can’t help wondering if they would show up in the darkroom. As you will see later on, these scratches were also found on the black and white negatives.
35mm Black and White Developing
I was expecting Harmanlab to excel at developing 35mm black and white film, but unfortunately that has not turned out to be the case. Similarly to the colour 35mm developing the film is well developed with nice even development across the whole roll, but there does seem to be a problem with part of their developing process.
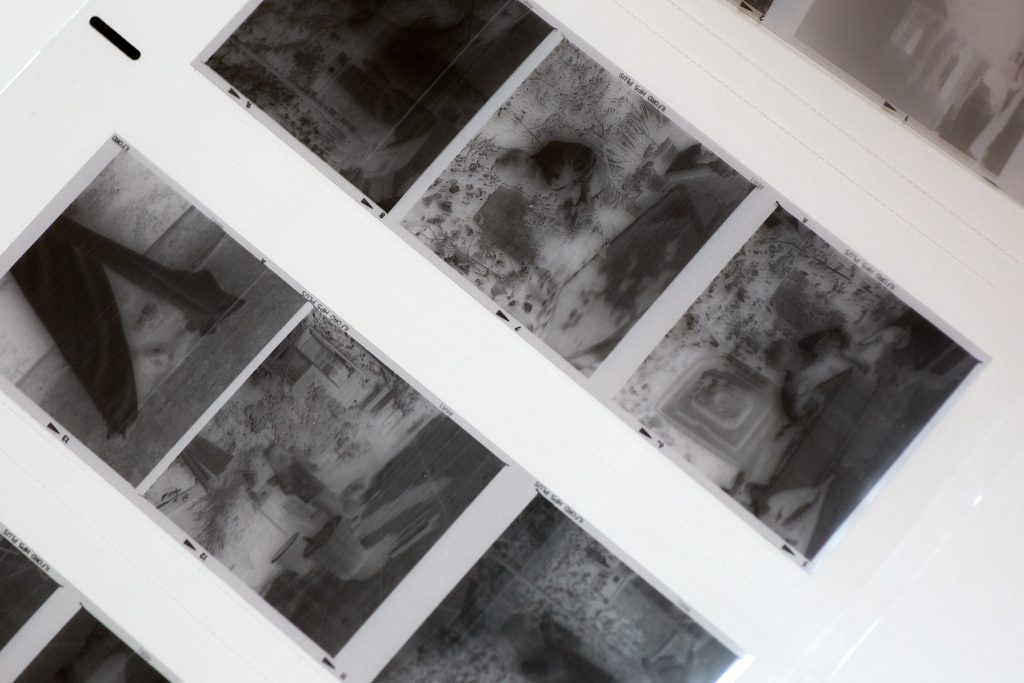
Both of the black and white films were returned with drying/water marks down the whole length of the film, typically 4 or 5 small drying marks on each negative. I did not request scanning of the films, but when scanned at home the drying marks are clearly visible, as can be seen below:
Editing out all of these marks would be quite tricky and time consuming so I approached Harman Lab and was offered 2 solutions, to send the negatives back for re-washing or to clean them myself with isopropanol (isopropyl alcohol/rubbing alcohol). I opted not to send them back as I had some isopropanol on hand from cleaning up old cameras.
After a lot of careful cleaning of all 72 frames with cotton buds soaked in isopropanol I was able to scan them again and achieve a decent result. The drying marks have left small dents/distortions on the back of the negatives but these have not shown up in the final scans. I expect the water marks were due to a problem with a squeegee that wipes the water off the films after washing, whether this is built into a developing machine or is done by hand afterwards.
On top of these water marks the film also has the side to side scratches near to each cut, again suggesting that whatever machine they use for this is responsible.
Overall I was not too impressed with the developing and it cost me quite a lot of time to resolve the issue with drying marks.
Scanning
In this order I requested standard resolution scans of the 120 film and medium resolution scans for the colour negative film. I chose to get the 120 film scanned as I only have a flatbed scanner at home for 120 film that does not always provide the best quality, I will provide a comparison in a future post.
I do have a dedicated scanner for 35mm films, but as colour negative film is notoriously difficult to get right I wanted a lab scan so I could compare the colours to my own scans. Below I explain the positives and negatives for each of these types of film, bearing in mind why I chose to get them scanned in the first place.
120 Black and White Scanning
The 120 black and white scans were provided as JPEG files with a resolution of 1818×1818 pixels. This size is just about big enough for social media but would not provide very big prints, maybe up to 7×7 inches at a good resolution. The scans are sharp, had a good dynamic range, and a good level of contrast. The image below is as I received it from Harmanlab, with no further editing.
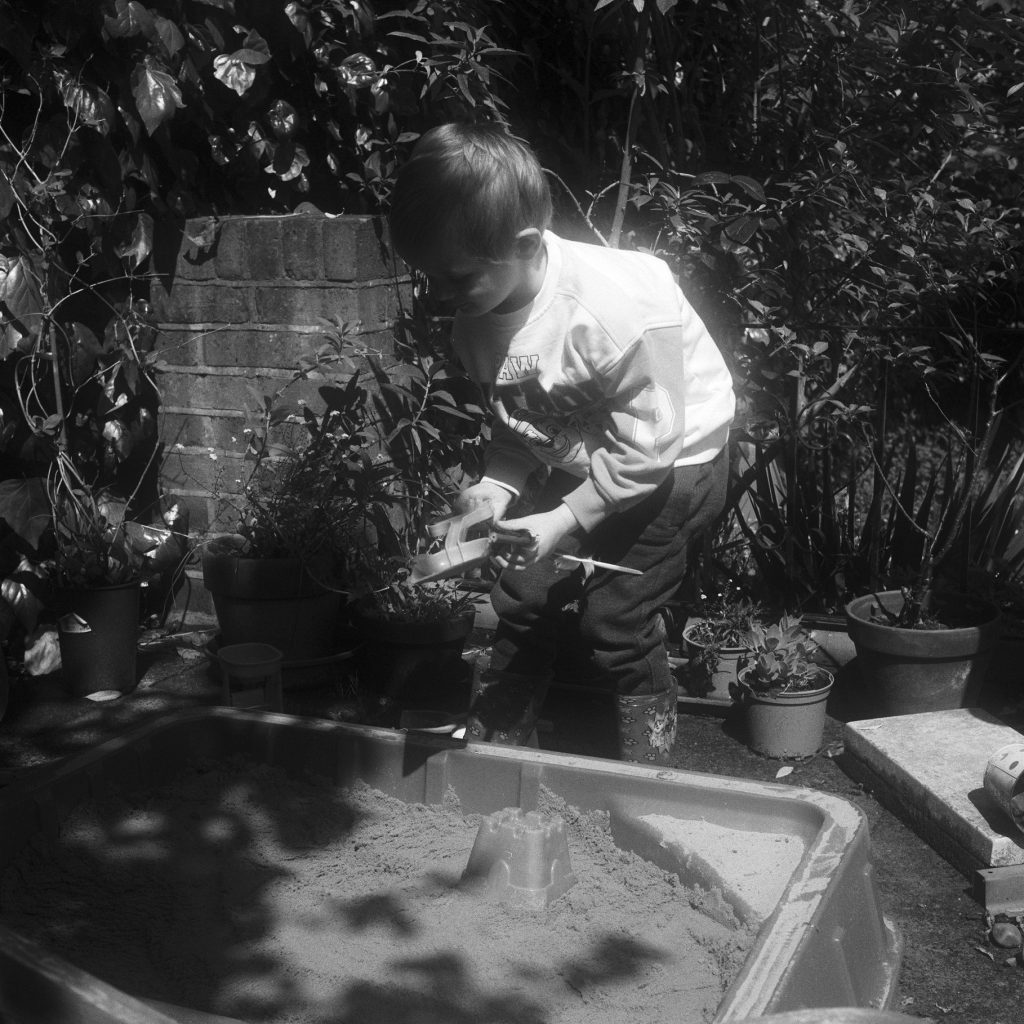
The glowing highlights in this image were caused by haze in the lens of my Yashica Mat 124G, which hopefully I have now fixed ready for the next film!
Overall, the 120 film scans are fine, if not a little small considering the extra £4.50 it costs to get them scanned. If you want to crop or edit your photos you should consider getting the high resolution TIF scans but, as discussed above, these add a significant additional cost to the developing.
35mm Colour Negative Scanning
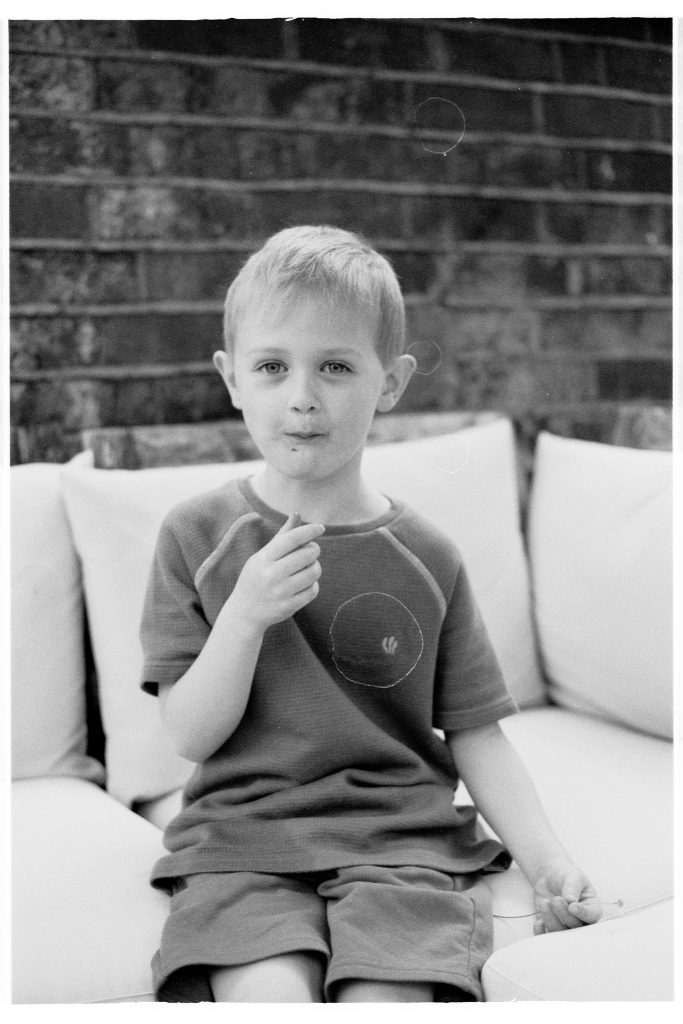
In this case I opted for medium resolution scans which, at 3637×2433 pixels, are a much higher resolution than the standard 120 film scans and allow for some cropping. The resolution and sharpness of the scans looks fine, but unfortunately for me the colours look hugely over saturated. Considering that I was planning to use these scans to calibrate my home scanning setup they have not proved very useful for me.
In the scans the colours are turned up so much that the images look unrealistic. The following example is representative of the whole roll with oversaturated colours throughout.

For comparison, my home scan is shown below. The colours are significantly less saturated and more realistic looking. This scan was straight out of my Minolta DiMAGE Scan Elite II with no further editing.
To get to a more realistic look for the Harman Lab scans I had to turn down the saturation and vibrance of the images quite a long way, and considering that these are 8-bit JPEG images this is not really a good solution as it can introduce colour banding and other compression artefacts that degrade the image.
So overall not a great result for the colour negative scanning. The lab scans were done on the Fuji SP-3000 scanner, which is up there with the best scanners available today, so I can only assume this is operator error or a problem with their scanning process.
I have not approached Harman Lab about this colour issue, so perhaps these results are not representative of all their scans, but they are what I received so my review is based on these results.
Summary
You can probably tell that I am not especially impressed with the developing results from Harman Lab. While there were no major problems, all the smaller issues have added up to the point where I will be avoiding them in future and would not recommend them to others.
To recap, the main issues I found were:
- Scratches on the negatives, length ways on the 120 film and side to side on the 35mm films.
- Drying spots on the black and white 35mm films that had to be manually cleaned up
- Over saturated colours on the colour negative scans
The pricing for good quality scans seems very high, even if it is in line with other labs, and I can only assume that this allows them to advertise a low price for developing and achieve their profits through the higher priced scans that most people will take. If you do choose to use Harman Lab scanning and want to edit your photos or need to crop significantly then you should definitely choose the higher resolution options, ideally with the TIF file option, to give you the most flexibility.
I really wanted to like Harman Lab as I love the Ilford films, but I just can’t look past all the issues and won’t be using them again. Let me know how you got on with Harman Lab, especially if you have a more positive view of them, as I would love to hear that my experience was a one-off!
For my next batch of films I will be checking out a new lab, currently I am considering Analogue Wonderland as I have only heard positive things about them so far.